Maker:0x4c,Date:2017-10-29,Ver:4,Lens:Kan03,Act:Lar01,E-Y
It’s time for a new project! With the completion of Operation Dragon’s Hoard, my scenery projects have run dry (and less full of downed planes and dust). However, that doesn’t mean my terrain collection is all good to go. Since I started wargaming, I’ve slowly been collecting more and more MDF, all ready for a day when I run a full size game set in a city (as planned for a future part of the CGS series).
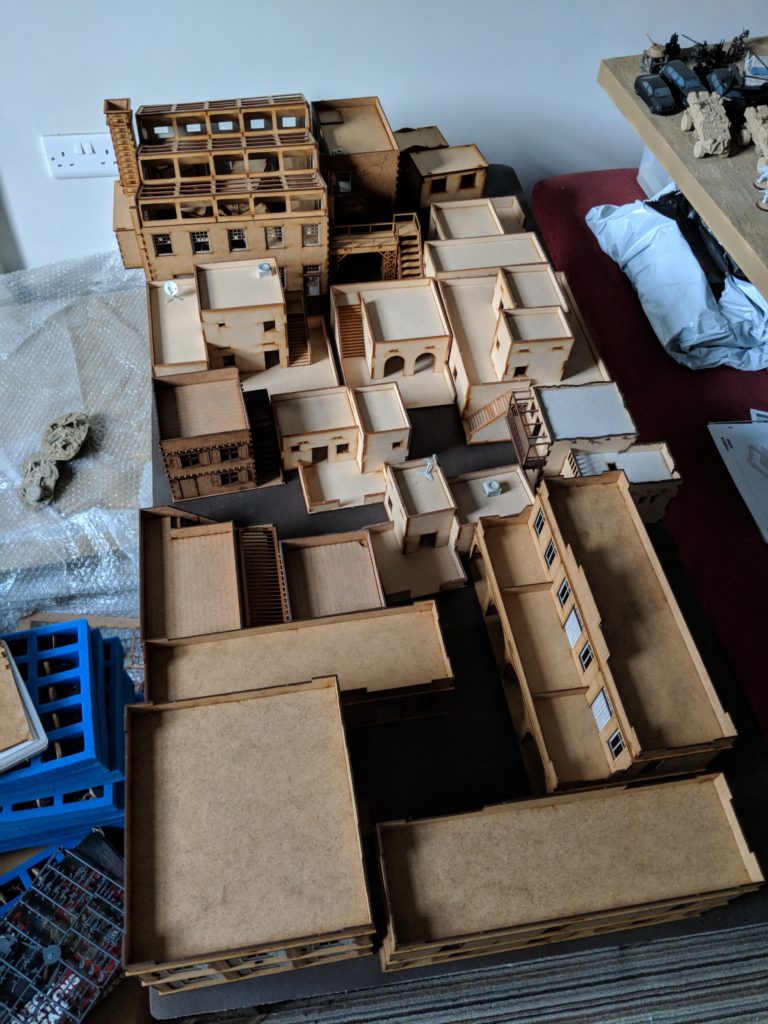
As you can see by my picture of shame taken in March, there is a lot of MDF to paint. And what’s worse, it’s all assembled (due to me mainly wanting to write about it) so painting is going to be interesting. To help with that, I’m organising it into a new project. Nicknamed “B-Town” the aim here is to assemble, modify and paint all my MDF to make it suitable for a modern day urban area somewhere in Bazistan/Aden. The target is to use this process to learn modification techniques to turn simple MDF into more detailed structures, learn painting techniques to get the terrain painted quickly and effectively and work on assembling the required scatter terrain to really make the scene look more realistic and interesting to play over.
This project is going to take a while and I’m sure I’m going to find ways to keep adding to it but for now lets start by taking a look at a few new purchases.
In my initial look at the Sarissa’s North Africa/Colonial Range, I focused on the big boys – multi-storey and street filling structures that are specific to range. However, there were also a few smaller buildings that Sarissa offer that I hadn’t picked up in the initial order. After having built the others I realised that maybe I should pick some up to use as prototypes for painting – after all, I’d rather ruin at £10 building than one of the larger ones.
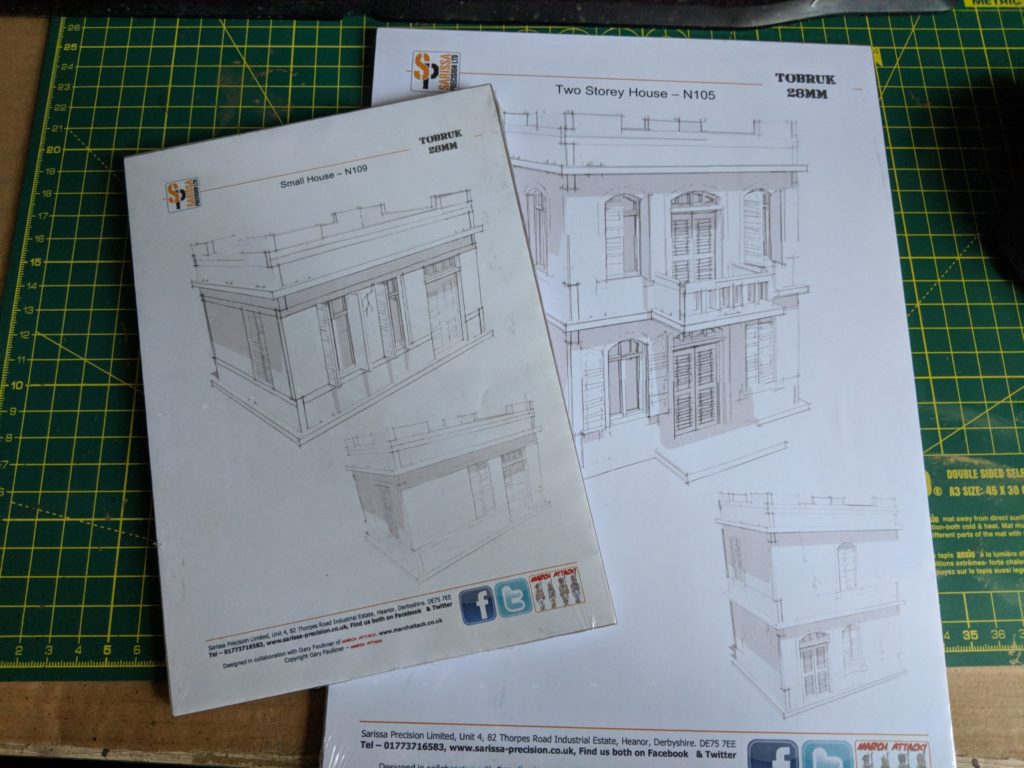
As before, both kits arrived in the usual Sarissa packaging. It was interesting to see that the small building was only on A5 MDF rather than the cut used for all the others. Quality was high as ever and assembly matched pretty closely to the kits covered in part 1.
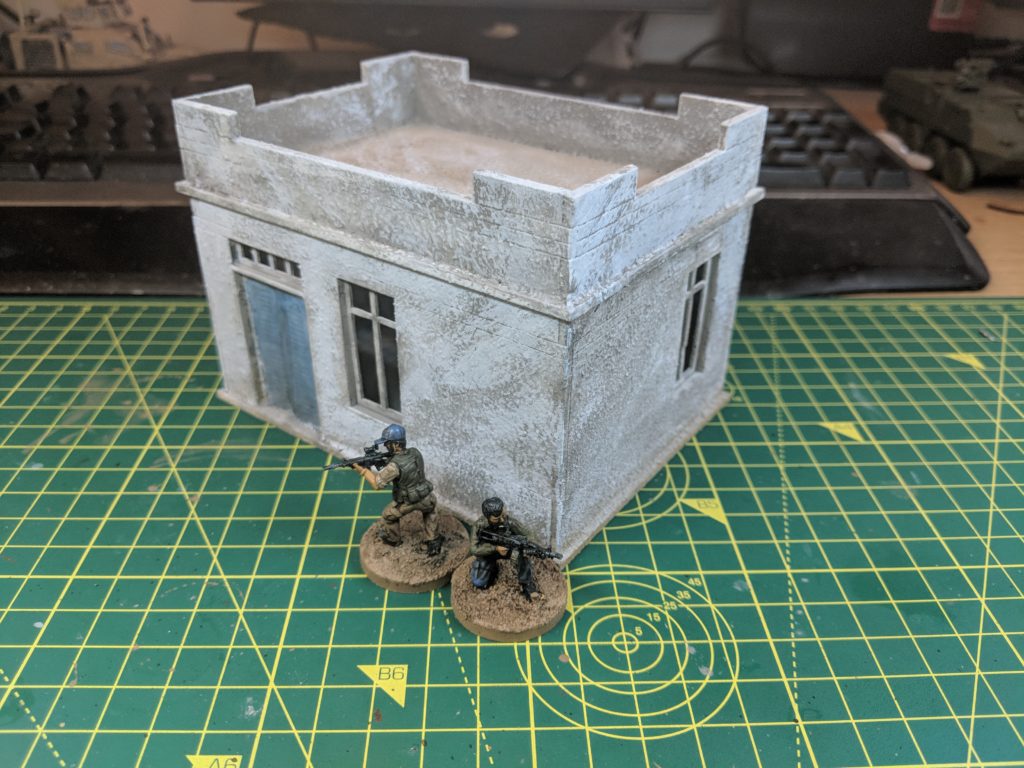
Small House
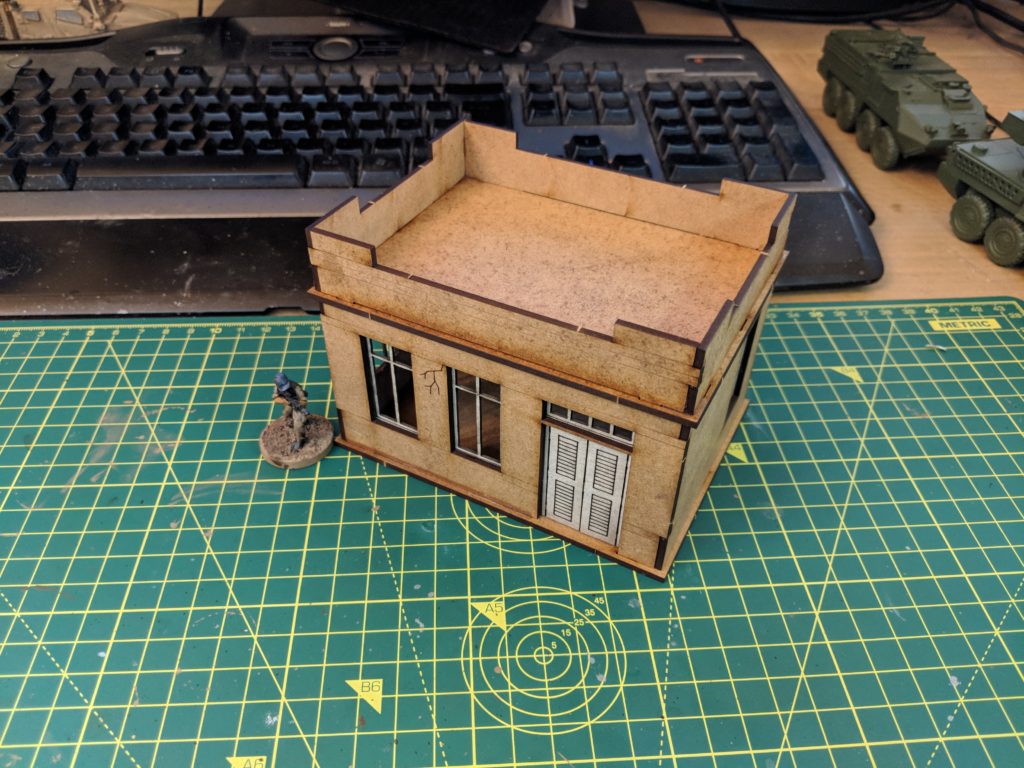
The first building in this set is the smallest building in the range. It’s also super simple – two doors, five windows and a lift on/off roof.
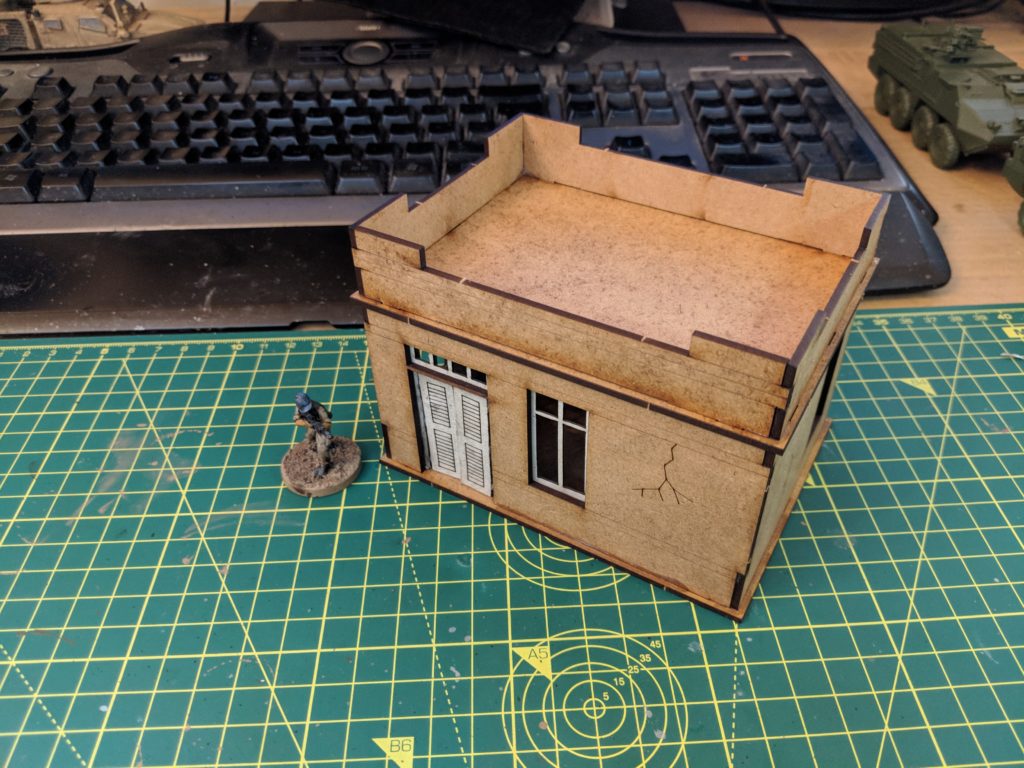
The rear view shows more of the access points as well as some of the laser cut details
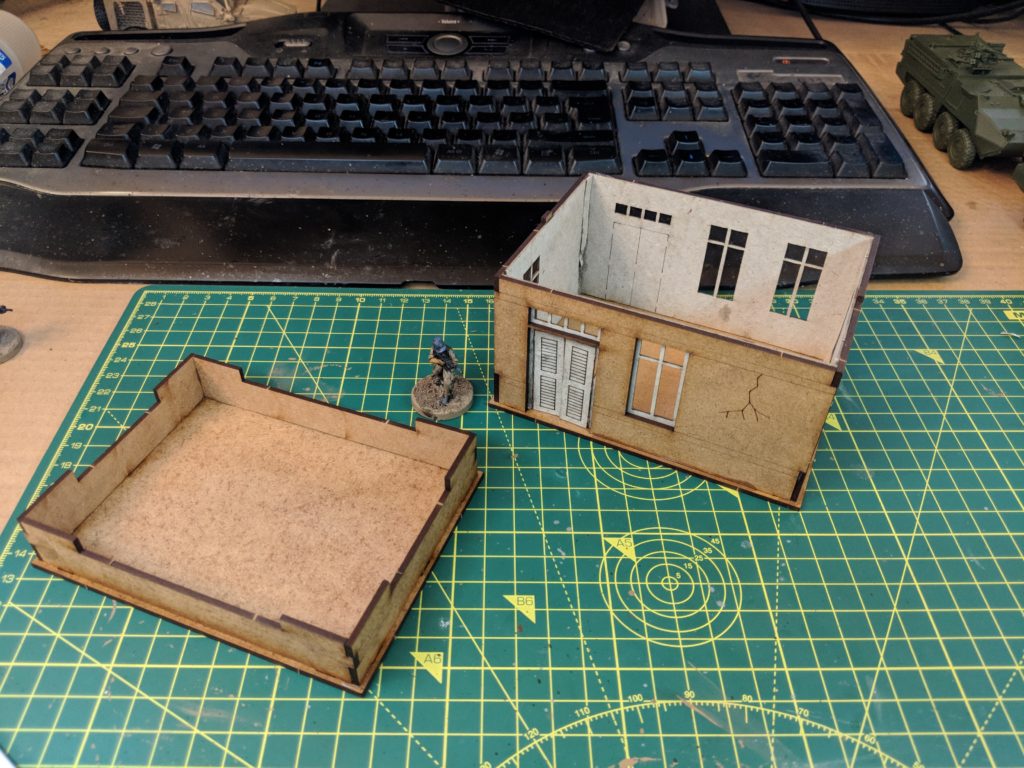
With the roof removed, you can see the interior. It’s a simple single room with two entrance ways. I had an issue where one of the greyboard panels where it seemed reversed but managed to fix it by trimming out the
House – Two Storey
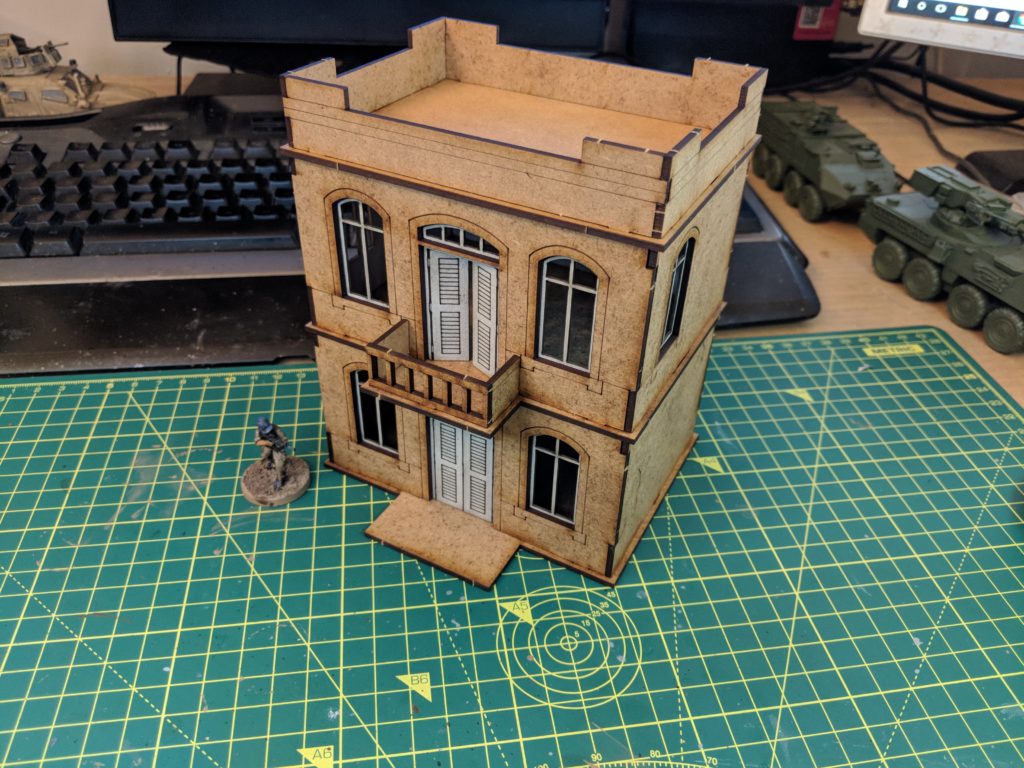
Building 2 occupies a similar footprint but extends it with another floor, including a balcony.
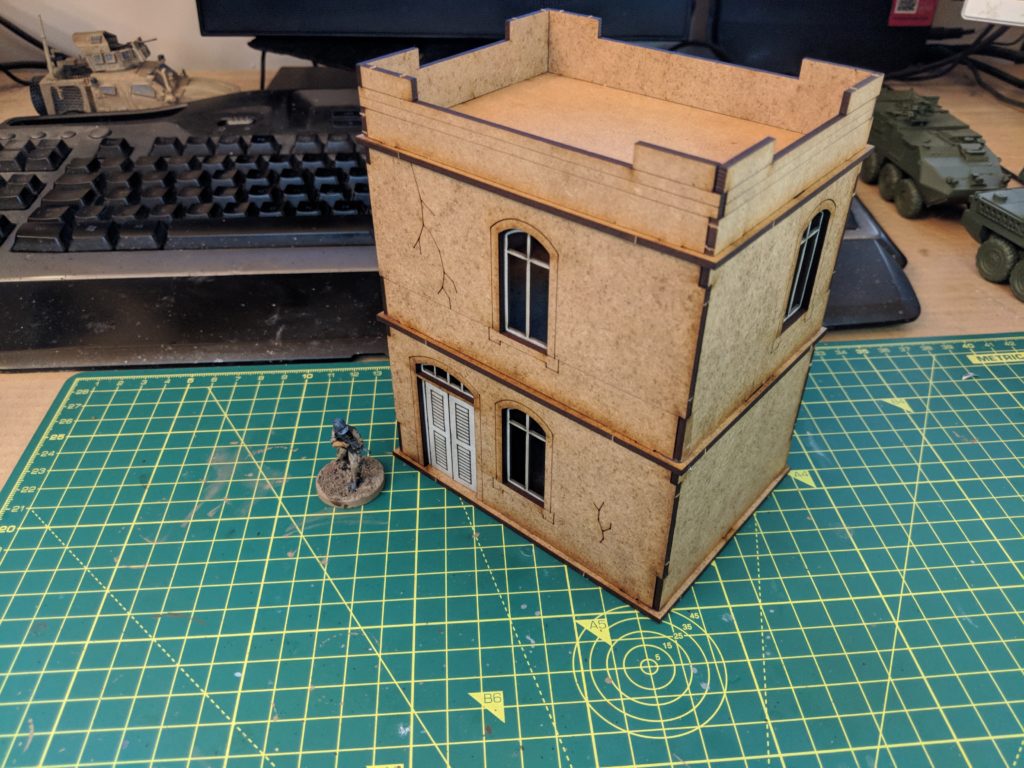
As you can see from the rear there is an additional door onto the ground floor. It’s interesting to see that there are no side windows on the ground floor, making it easy to outflank but limiting entry.
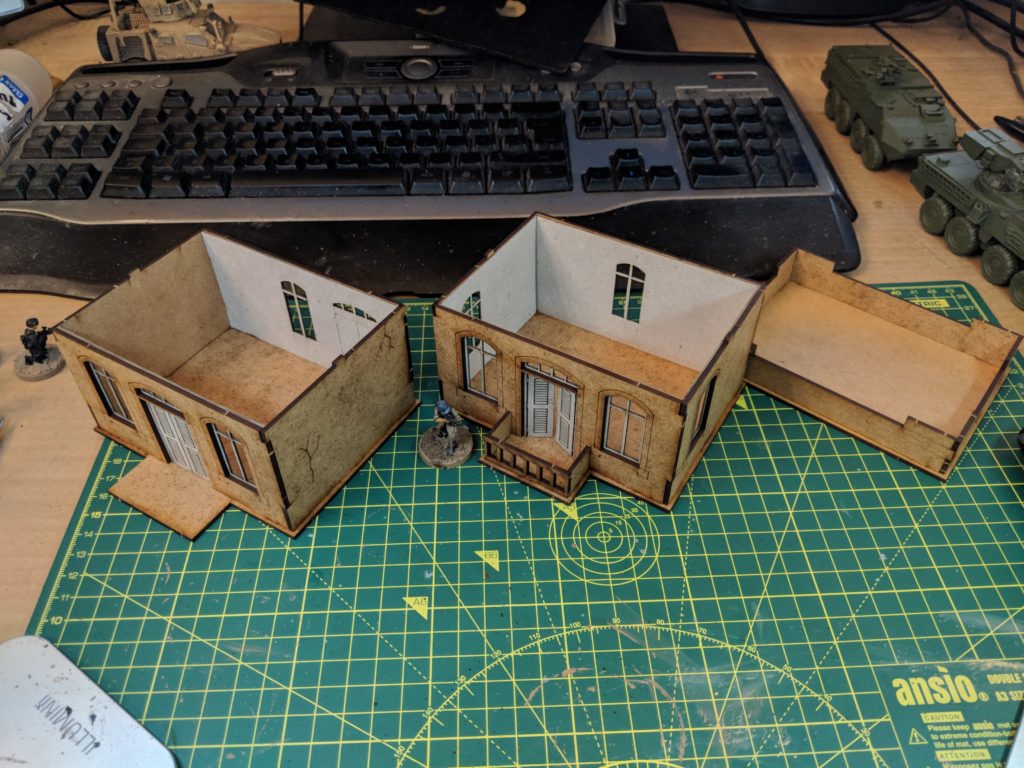
Like other buildings in the range, the interior are empty cells. An interesting note is that due to the same plug system used for the room, the ground floor could be replaced with the one storey house or the two storey could be converted into a single – with two doorways, it’s perfect for a security office in a compound.
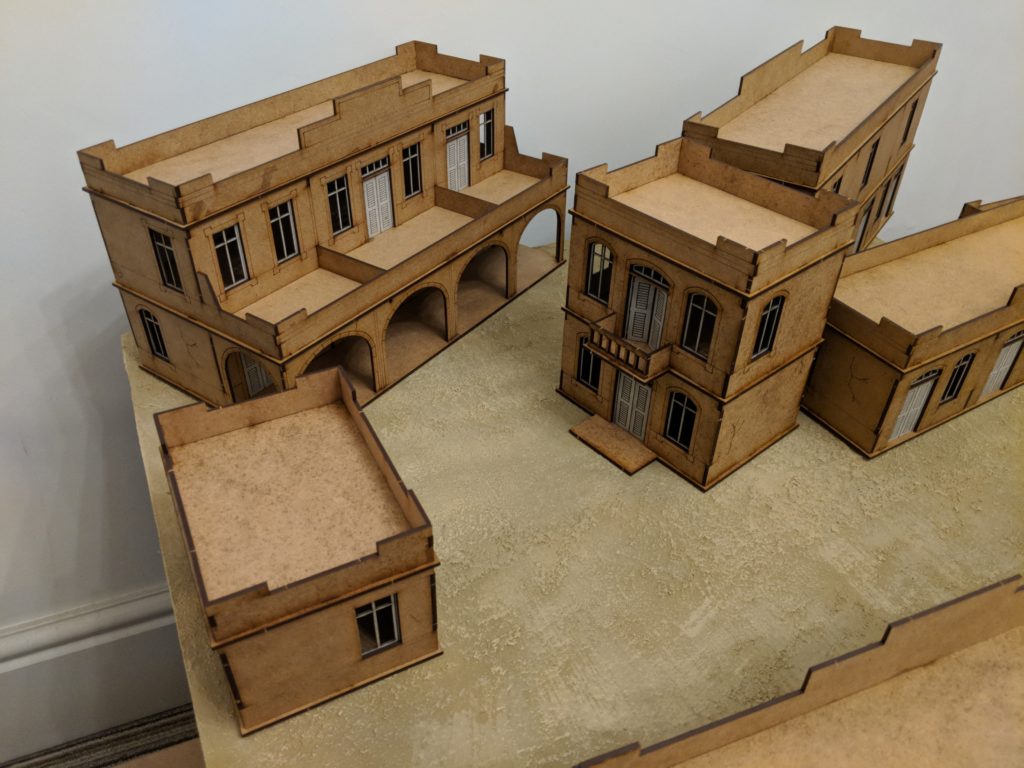
Picking up these two buildings, really started to let me see some of the possibilities you can get with this range. Although the large buildings are very impressive, multiple small ones will help to quickly make any neighbourhood large, especially as they could be used in a modular fashion to make a wide variety of different buildings. I’m not going to rush to pick up more but it’s something to think about for the future.
Of course, I can’t leave you with just a simple impressions piece. In between my time at work, I managed to get some paint onto buildings. As planned, I’m starting with the smallest Colonial building to work out my method.
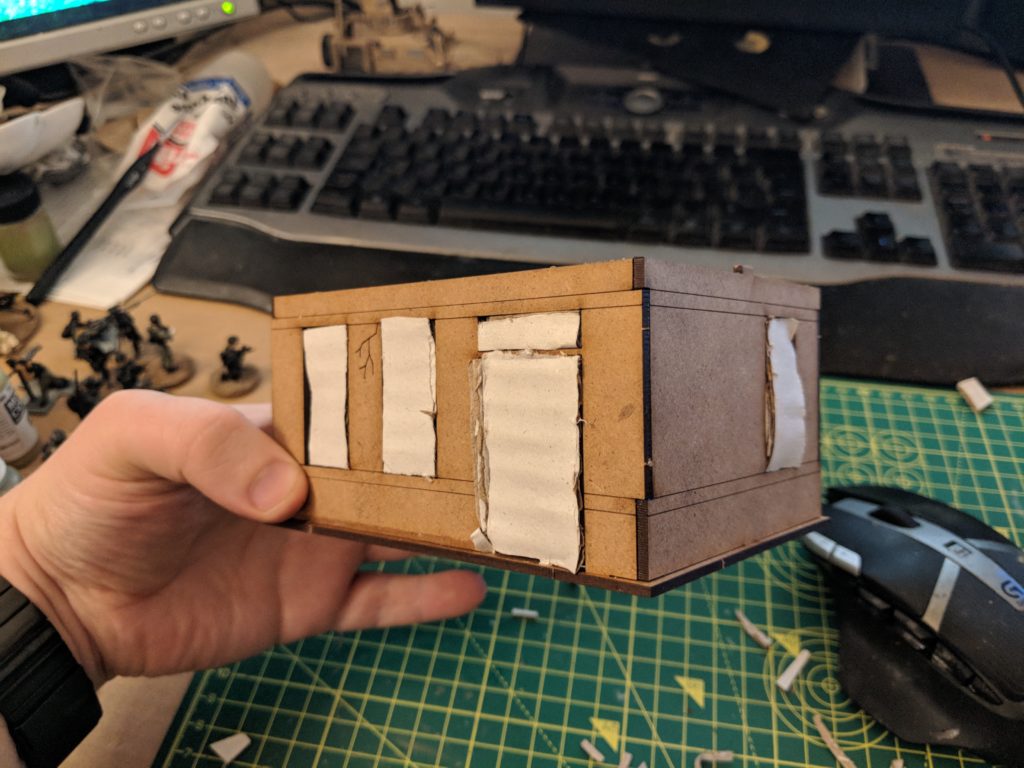
Due to the fact I’m working with buildings that are already assembled in this project, I can’t start from a sensible place like base-coating on the sprue. Instead, I’m having to mask areas I’m not wanting to cover in textured spray, such as doors and windows.
So here is my process for the first building. It’s not 100% finished – I’m still debating adding window glass on the inside.
- Assemble
- Mask off windows and doors
- Textured spray with roof on
- Remove masking pieces and roof
- Spray Black Undercoat
- Spray Grey Undercoat
- Spray White
- Dusting of Tan spray on the lower edges
- Paint doors with a dilute blue to bring out the lasercut detail
- Nuln Oil wash for vertical surface, Agrax Earthshade for the flat surfaces
- Roughly paint/drybrush white
- Apply scrunched poster, hit with a Nuln oil wash
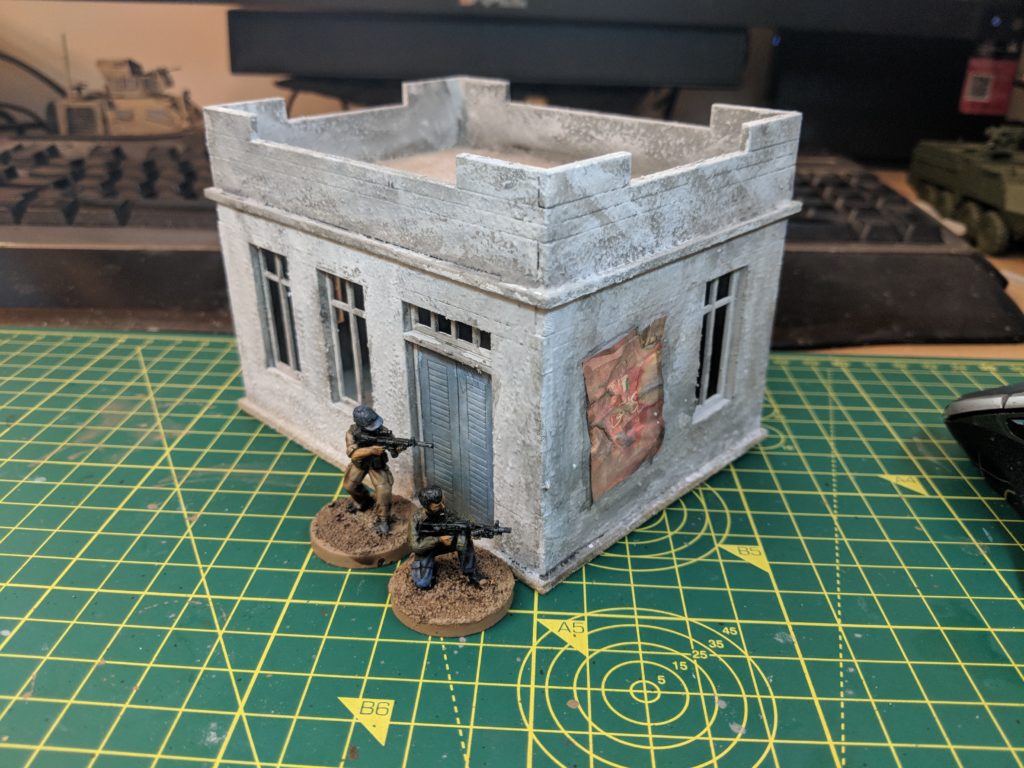
For a first attempt I’m reasonably happy. There are a couple of things I’m going to tweak. First of all, I don’t think I need to spray black AND grey. The grey is pretty dark and it covers the main role of the black (covering up the black and white of the textured spray/giving the same “dark up” feel that my figures have). The poster is something else – I think I over handled it causing it to tear and smudge. A layer of wash was needed to stop is standing out too much but I used a dirty brush. Next time, clean between uses.
The big thing is I’m going to take a bit more time on future spraying. I painted up these relatively quickly (probably 1.5 evenings) which meant I didn’t leave the spray paint long enough to settle. This lead to some odd textures and cracking you can see if you look closely. If anyone asks, it’s just the plaster cracking. Another tweak will be to change the final finish colour – looking at buildings in Yemen (the geographical area of Bazistan) and there is a nice mixture of colours from white to shades of brown. Due to the fact the buildings share many of the same features, a colour tweak will make the city look a bit more varied.
What’s next?
The next part of the project is going to work on the other colonial buildings so I can have a core set of buildings painted up. However, I need to look into some detailing parts to help them look more modern such as air conditioning units, metal bars around the windows, wiring and aerials. I already have a few but I want to expand my options and see what is out there. Having now started this project, I’m really looking forward to getting a board covered in painted up buildings.