Last time in Project Humvee, we took a look into the basics of the Spectre range and assembled the chassis for the first two vehicles. This time around, prompted by the need to get some vehicles ready for an upcoming game, we’re going to cover the next step for this project. Adding some details, getting the current vehicles painted and then sorting out the next set of chassis and turrets.
Stowage
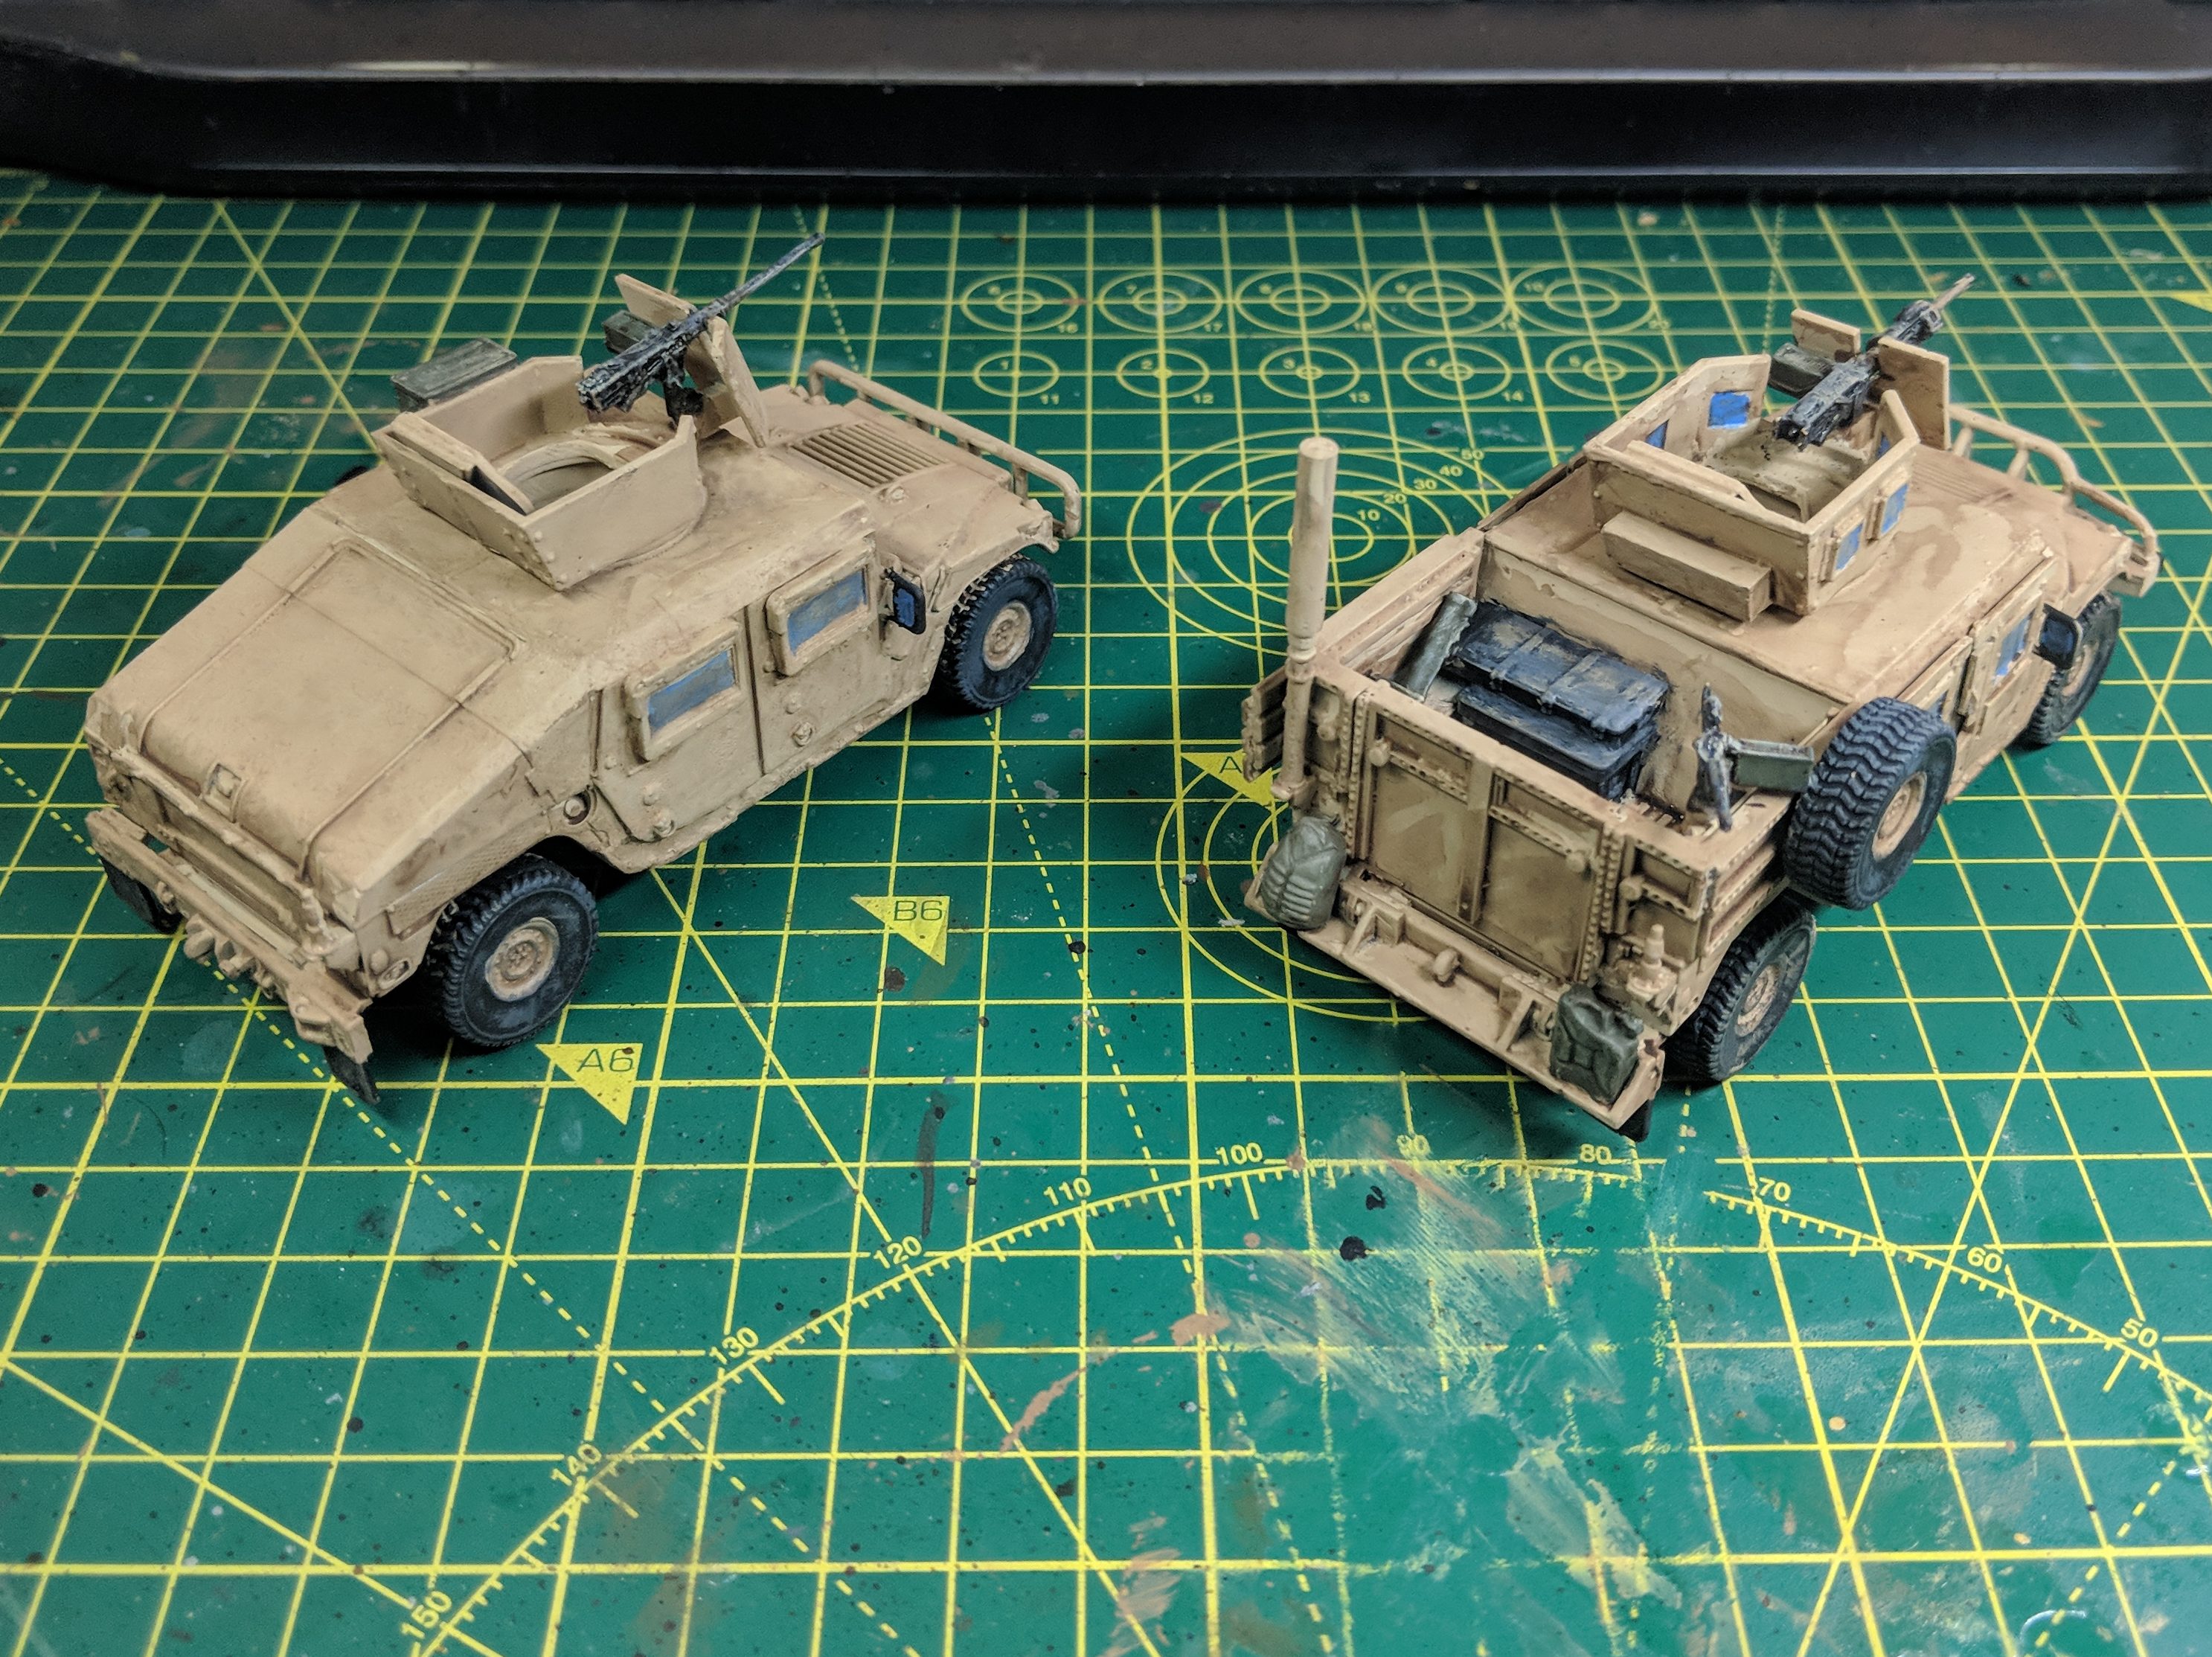
So in between the first post and now, I’ve actually done a few tweaks to the vehicles. Starting with Humvee One, the standard one. Seeing as this is designed to be the “normal” one that will probably end up being used by the regular forces, the base vehicle hasn’t had any add-ons installed. I did adjust the positioning of one of the armoured windows I mis-installed and filled in a gap I created on the rear bumper.
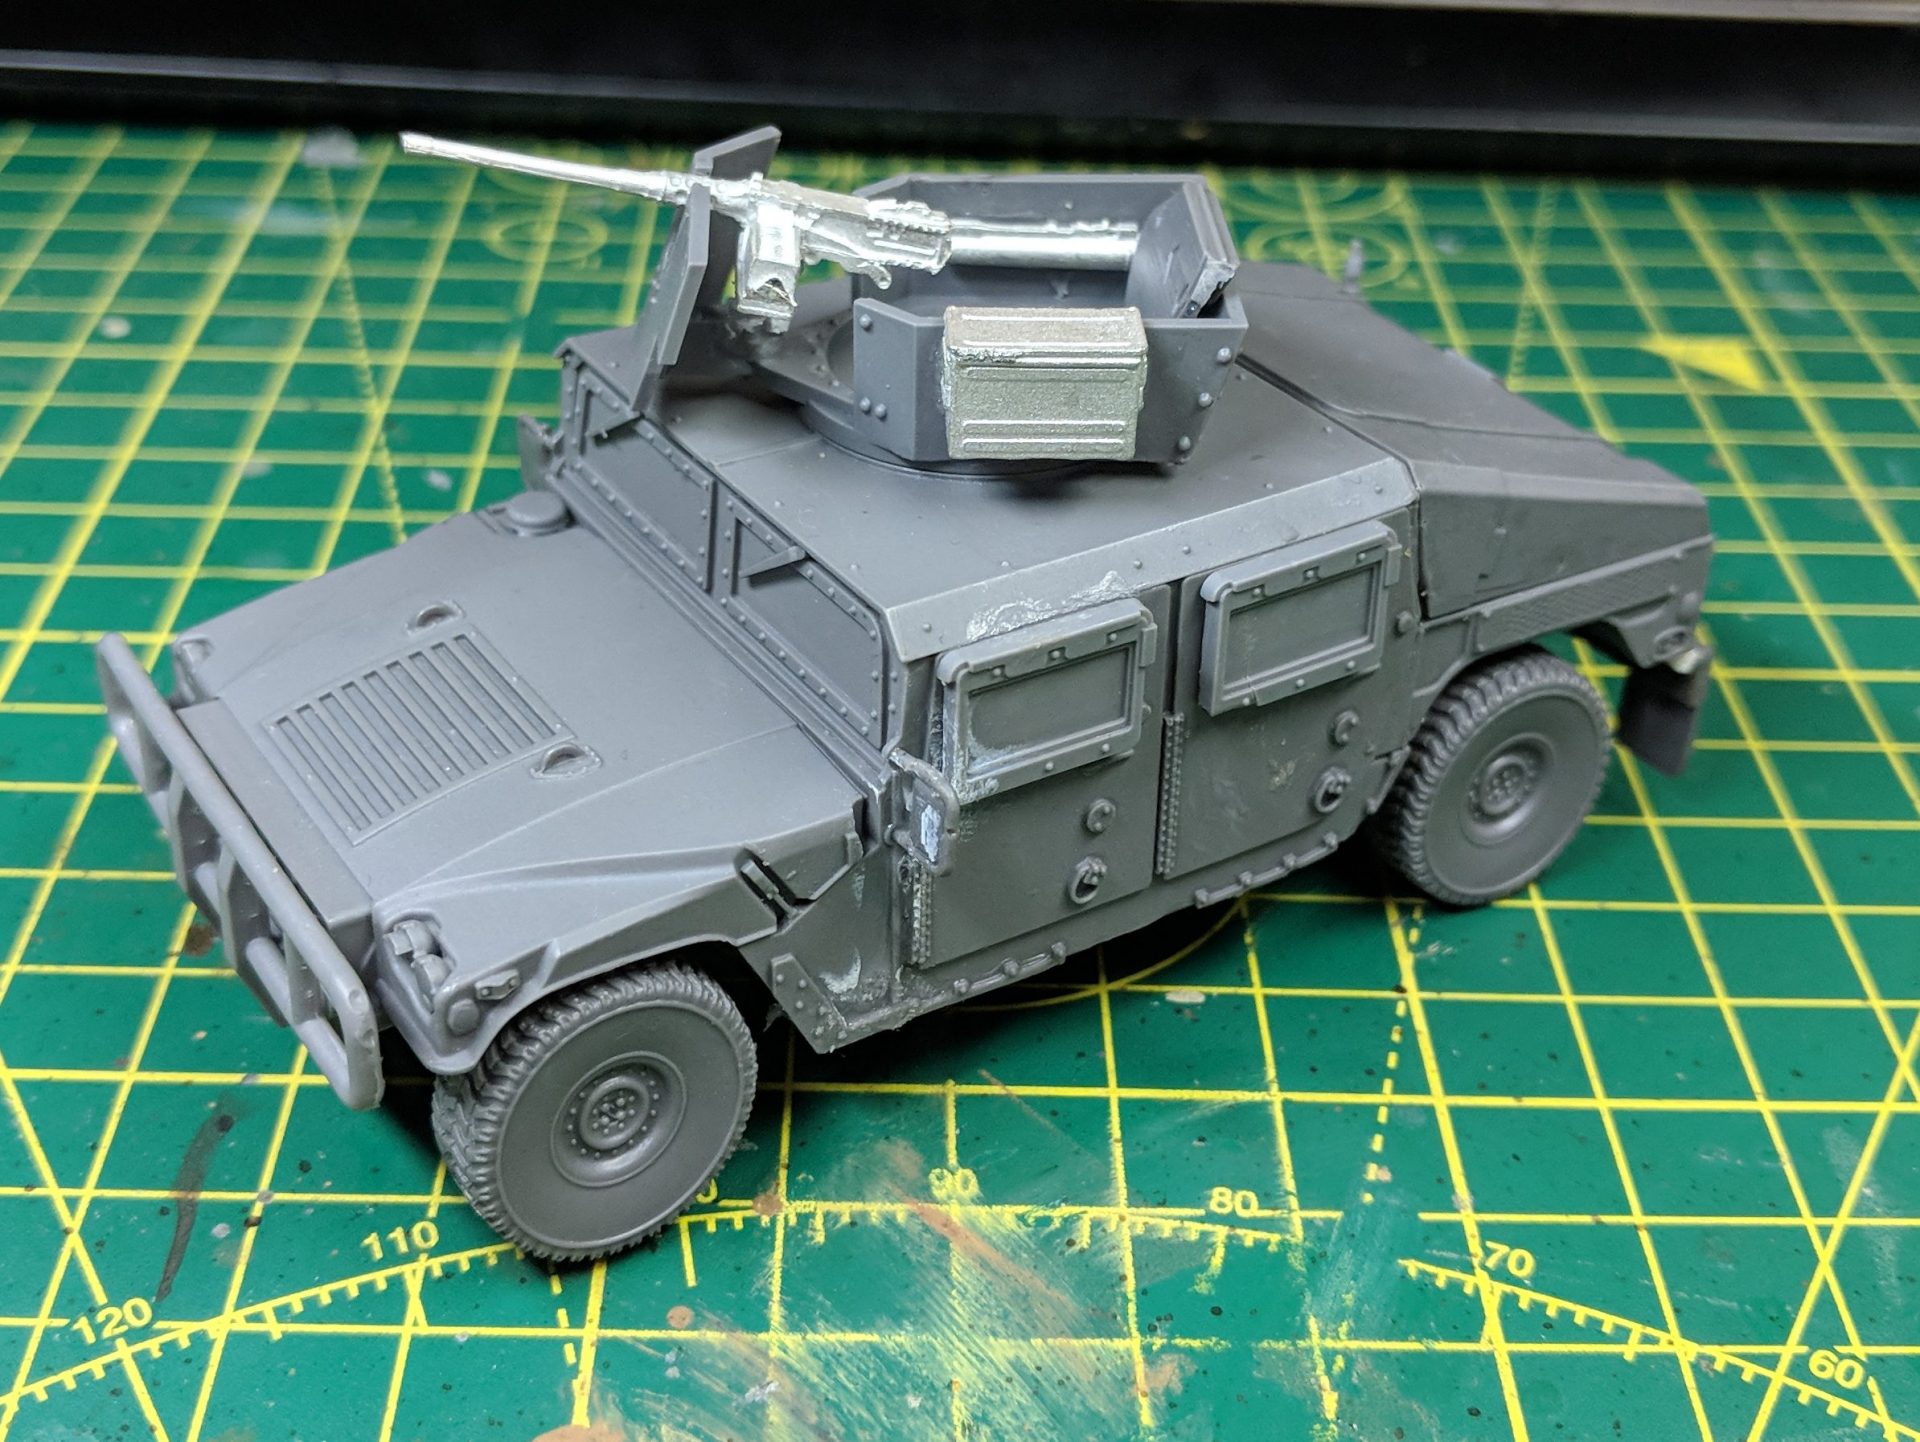
Up top though, the turret got some improvements. After looking at the some of the pictures, I realised I had mounted the .50cal a little too low and would have caused some gun depression issues. To correct this, I installed a small column to life the gun up slightly. From the stowage kit, I pulled out the large ammo box and stuck it to the side of the turret. This was inspired by a picture from HMMWV in Scale, and made a lot of sense – after all, it means the gunner can grab a reload much faster than having to drop down into the vehicle. I also added a LAW tube on the interior of the turret – perfect for when something needs stopping and the .50cal isn’t working out.
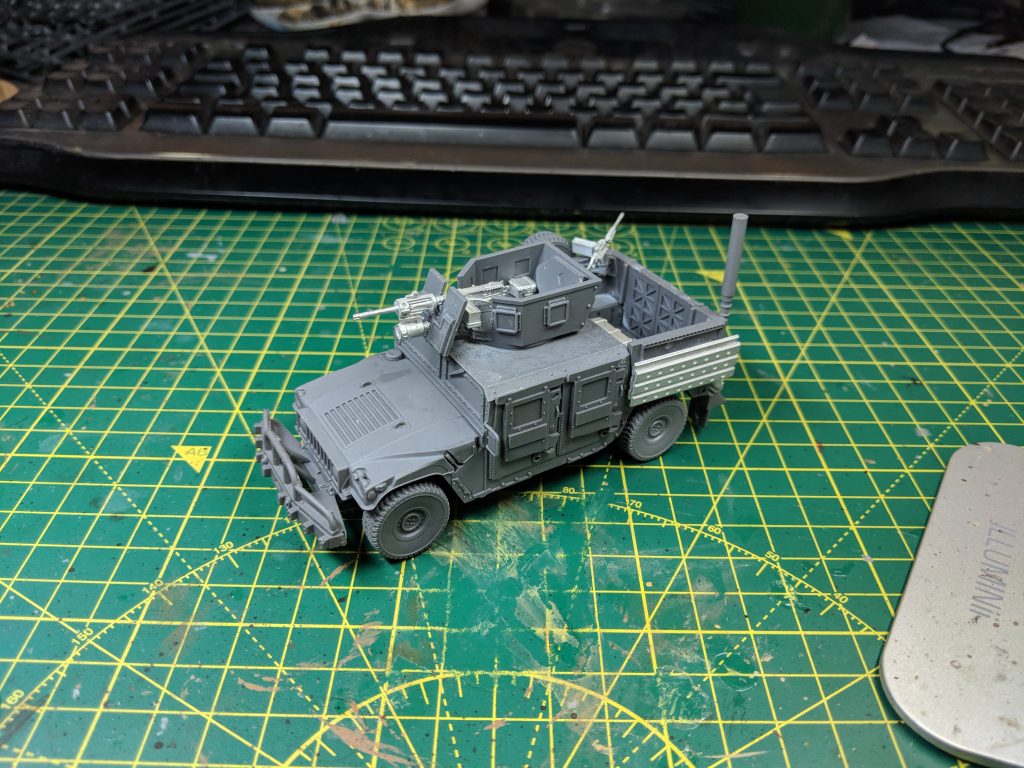
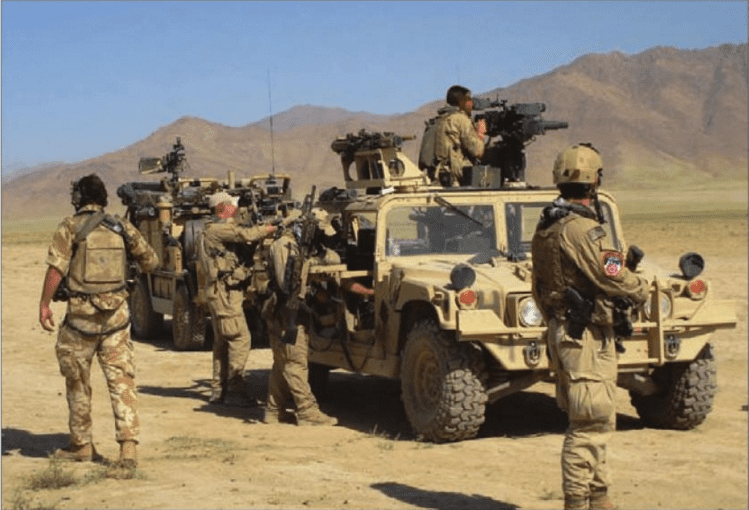
As you might expect, the SF Humvee had a bit more stowage added to it, seeing as that whole rear section is designed to be filled with kit. Starting with the exterior, I added the ever useful sand channels to the side of the vehicle, which should visually balance out the spare wheel and M240 on the far side. In the turret, I decided to keep things simple just adding a small Pelican case to the rear of the interior. Mentally, I see this as somewhere for the gunner to store all the kit they might need when running the turret, such as pen flares or tools. With the new launcher pack, I’m tempted to add an AT4 tube on the back of the turret but this will be painted and assembled once my next order arrives.
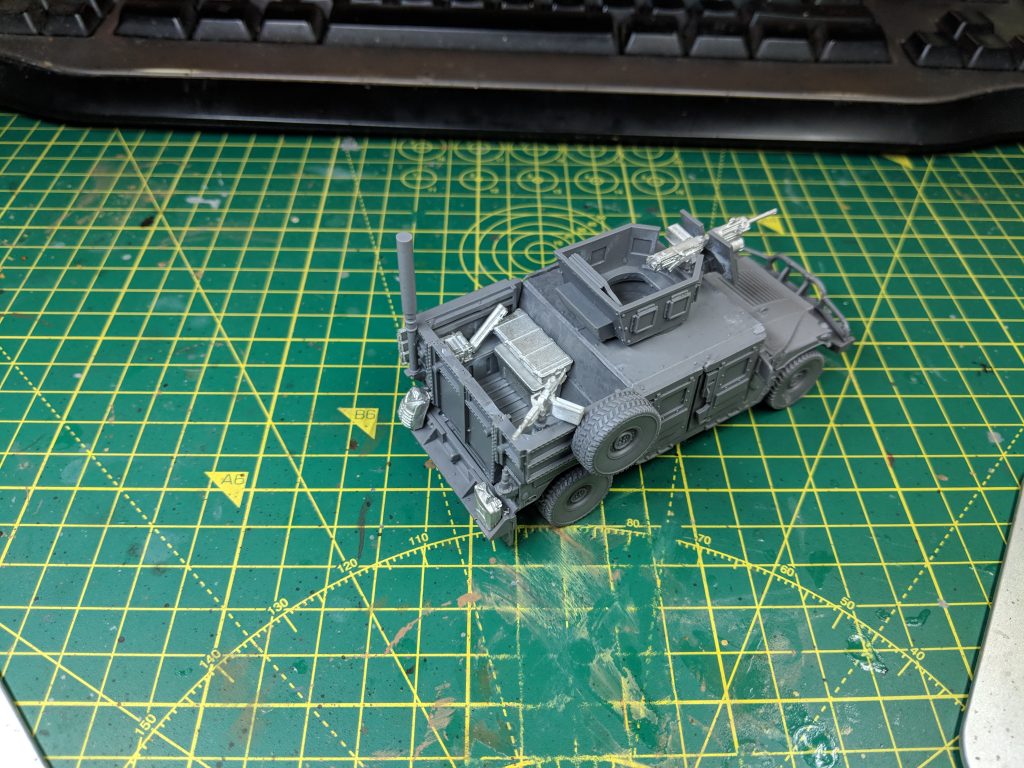
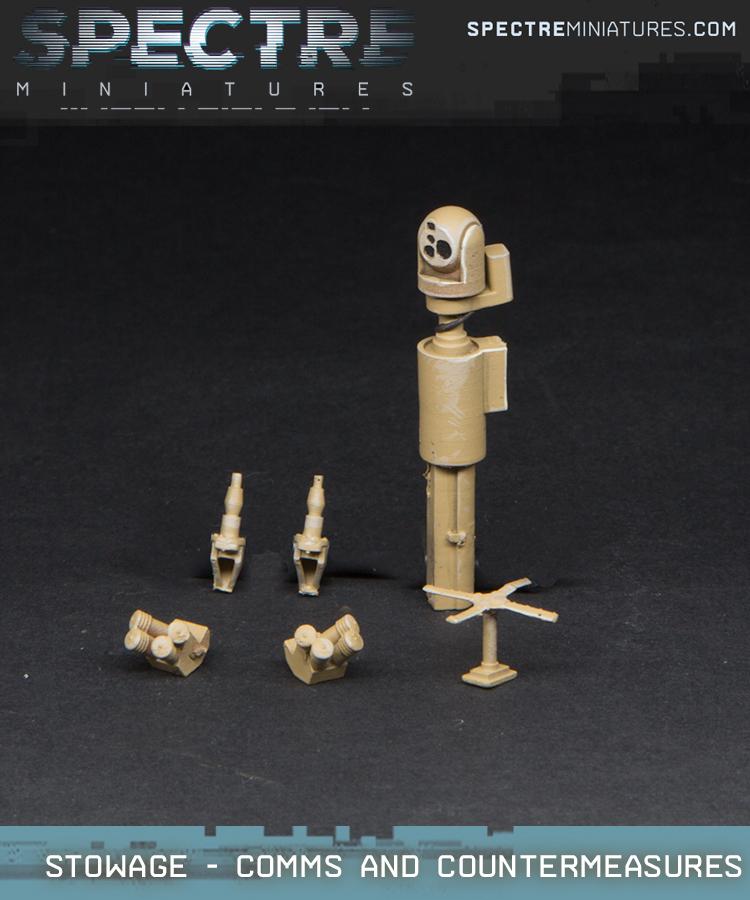
Inside the rear section, I’ve added a pile of stowage items perfect for giving the crew a bit more firepower while also making sure there was plenty of space for anyone using the M240 to move around. The list of additions are.
- Large Pelican case: General stowage, anything from personal effects to medical or comms equipment.
- Rifle case: More firepower, can be used to stand in for any stored equipment
- LAW tube: MORE FIREPOWER
- Small ammo box: General stowage, anything from ammo to additional grenades.
- Hardened laptop: In gameplay terms, I’m going to use this and the aerials as a way of signifying improved comms for off-map assets or long-range co-operation. This helps to show off this ride as ideal for a SF advisory team, able to act as a force multiplier when working alongside other forces
Finally, I added two items on the rear bumper. The rucksack was put in place to cover up some damage caused by an air bubble, with green stuff filling in the bulk of it. On the other side, a jerry can helped to balance out the look.
Painting
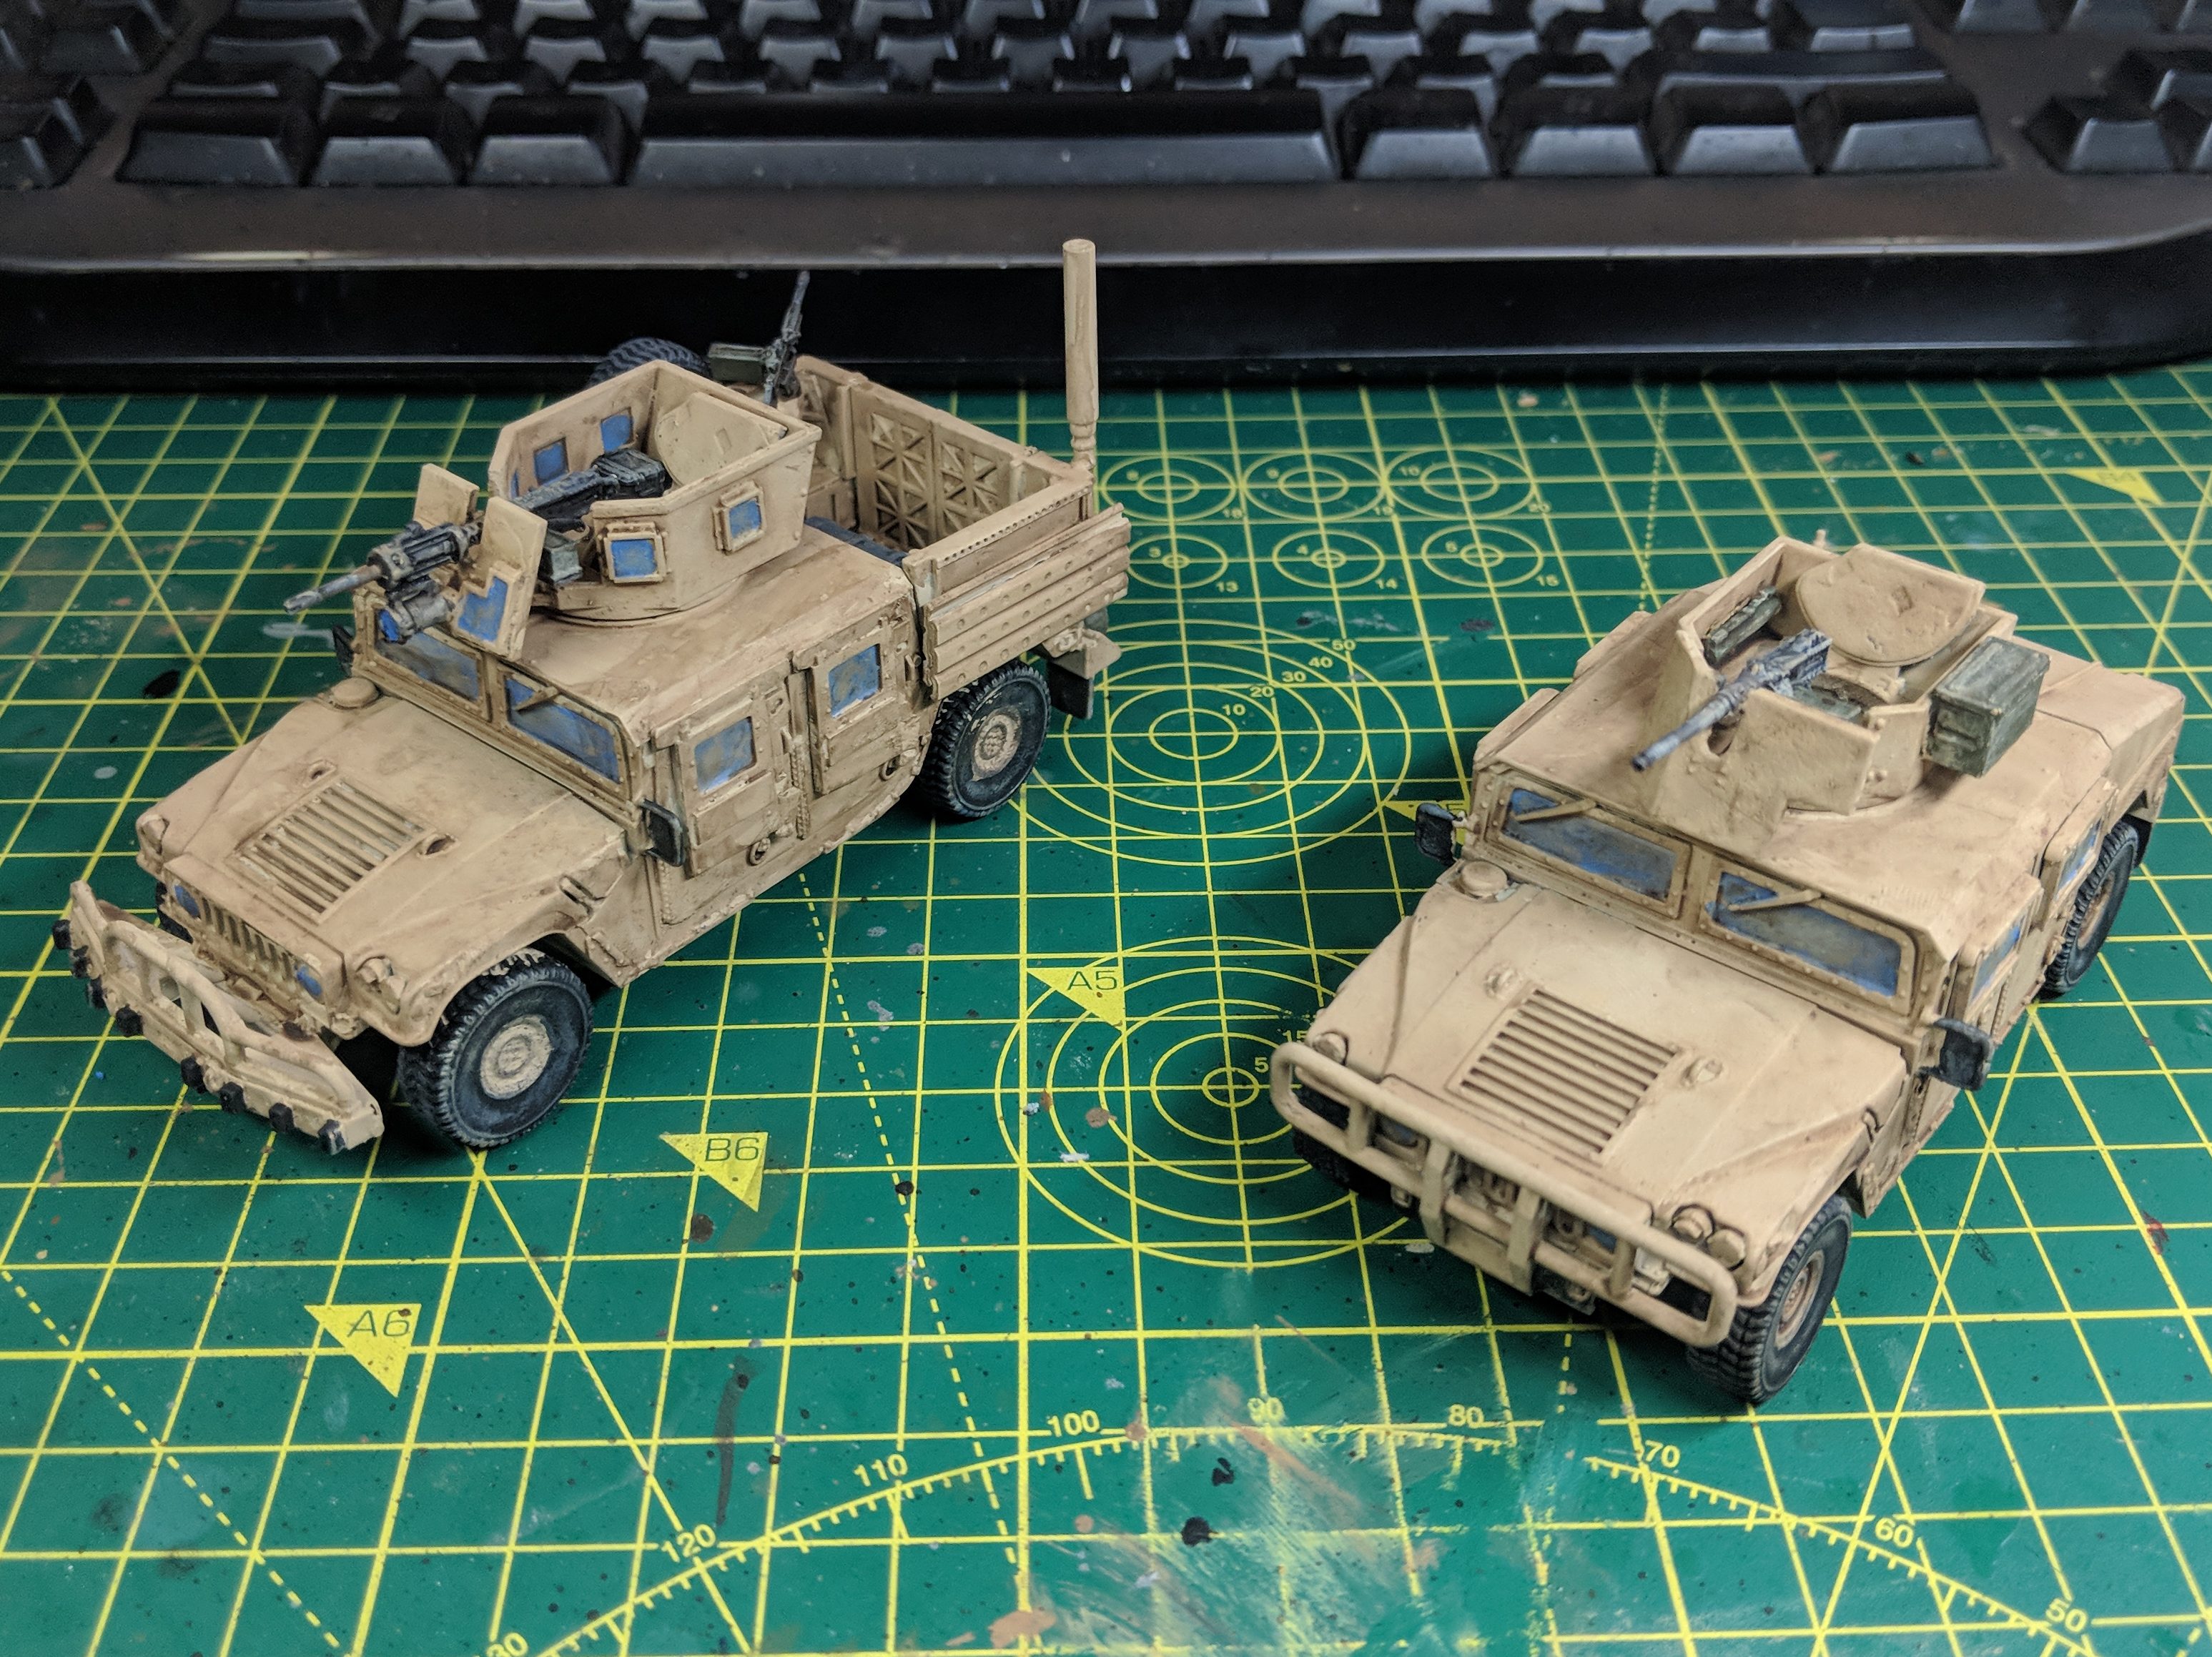
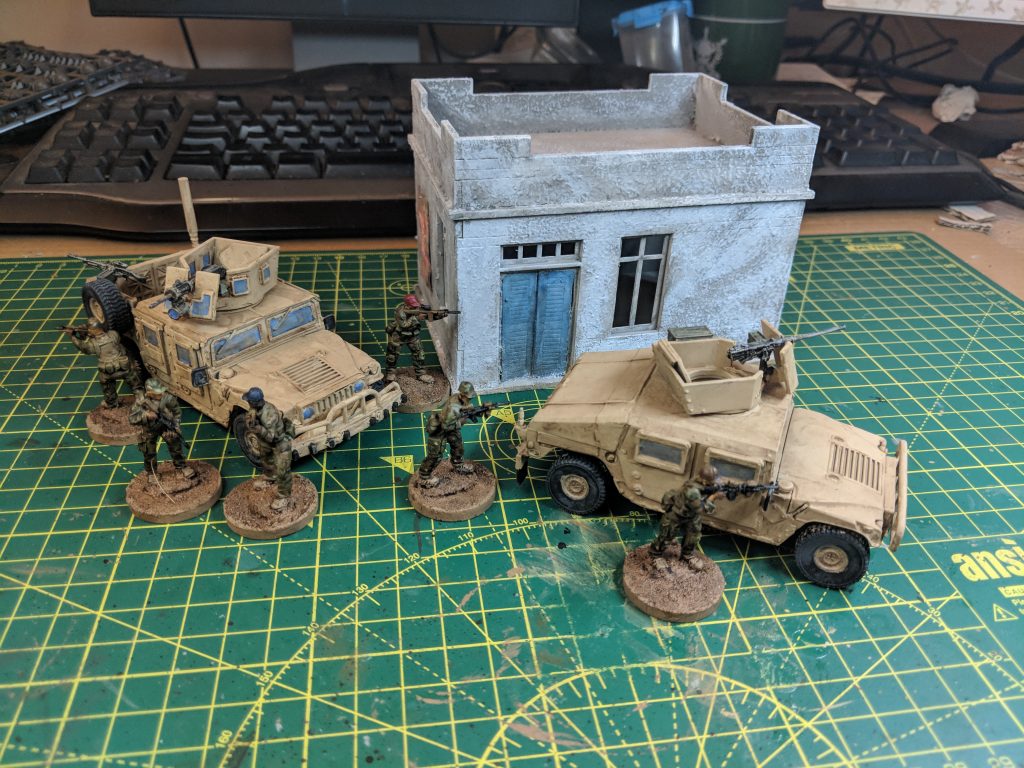
Painting on these vehicles was very similar to some of the other US vehicles I’ve done. Black basecoat, Humbrol desert spray and then touched up with a brush version. Other details were then painted before being washed in Agrax. Rather than leaving to dry as I usually do, I instead dabbed it off which prevented some of the strange patterns I had to deal with on earlier vehicles.
I have a love-hate relationship with painting vehicles. It’s very easy to make them look bad but modern paint schemes means no faffing around with camo. Painting was done in an evening and although there are a few things I could touch up (like the central hubs on the wheel). I’d say these things are ready for the tabletop.
Humvee Three
So, with these vehicles finished, let’s look ahead at the next vehicle I’ll be assembling. The goal with this is to create another Humvee that can be used with regular army forces, so it will be using HMV upgrade Alfa and the partially armoured doors.
This time, however, I’m going to make it a little special and outfit it with the FLIR camera from the new stowage set. This is partially inspired by the LRAS vehicles. A variant I learnt about from the book “Red Platoon”, these vehicles have powerful observation equipment. Instead of the turret mounted system of the real version, the rear mounted camera does the job of marking the vehicle out as something similar without requiring a specific turret change. I’m looking forward to using this in-game.
Of course, the exciting bit is up top – the turrets. I find building .50cal turrets to be a pretty safe bet. It’s a multi-role gun, easily able to take out infantry and light vehicles a like. However, as various scenarios have told me, the automatic grenade launcher is also pretty common. I was planning to wait until Spectre made a Mk19 (much more suitable for Big Army, especially when playing games in the near past) but having seen more photos of the Mk47 in action, I guessed it was time to get one on the board. I am thinking of using the spare M240 I have as a secondary weapon in the turret, letting the gunner engage closer targets where a hail of 40mm would be unsuitable.

That said, I do also like miniguns. Having already used the Spectre minigun when modifying turets for the Empress model, it was time to add another one to my collection. I can see it being used a lot on the SF vehicle, so I think I’ll put it in Turret Bravo with the greater protection. The main challenge is deciding where to put the ammo box.
Finally, as I buy more vehicles, I’m slowly building a collection of unarmoured turret rings. As you might expect, this setup really isn’t suitable for most modern locations. However, it might be useful to have a few armed ones for less combat focused operations (such as interior policing or base defence) so at least one is having a .50cal added to it.
Conclusion
As you can see, work is progressing on. Having a deadline for a project is really handy as it helps to focus the mind and add a sense of urgency. I’m really happy with how these two vehicles turned out and can’t wait for them to both be reduced to burning wrecks as is tradition for newly painted models.
Next week will be another entry in Project Humvee as I frantically try to get vehicle 3 assembled and painted in under a week. I’ll also be looking at at the new stowage options and even getting one or two onto the vehicles.
EDIT: Change of plans – I totally forgot to order the FLIR unit so next Project Humvee post has been delayed. So the first time you see it will be in the next battle report!
