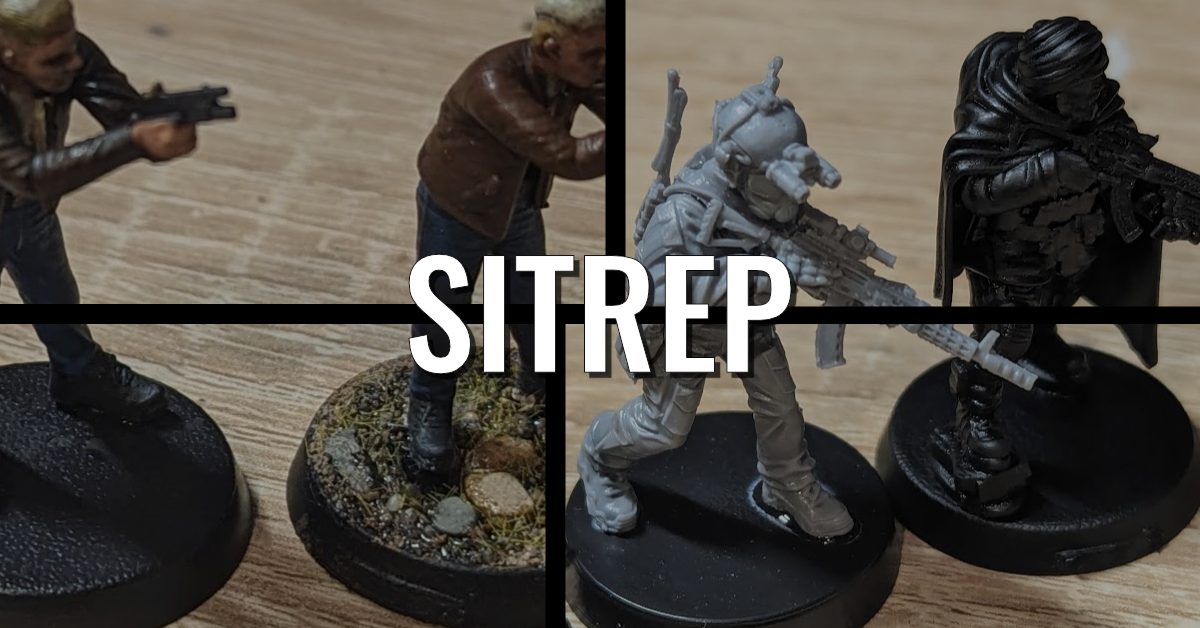
In between my work on painting up the mountain of Shurta figures from the BPRE box, I’ve been taking a break to paint up some of the single figures that have been piling up on my desk. It just so happened that the latest two (the CIA SAD figure from Spectre’s Patreon and the Charity figure from Anthalonica) ended up being painted up in a similar way.
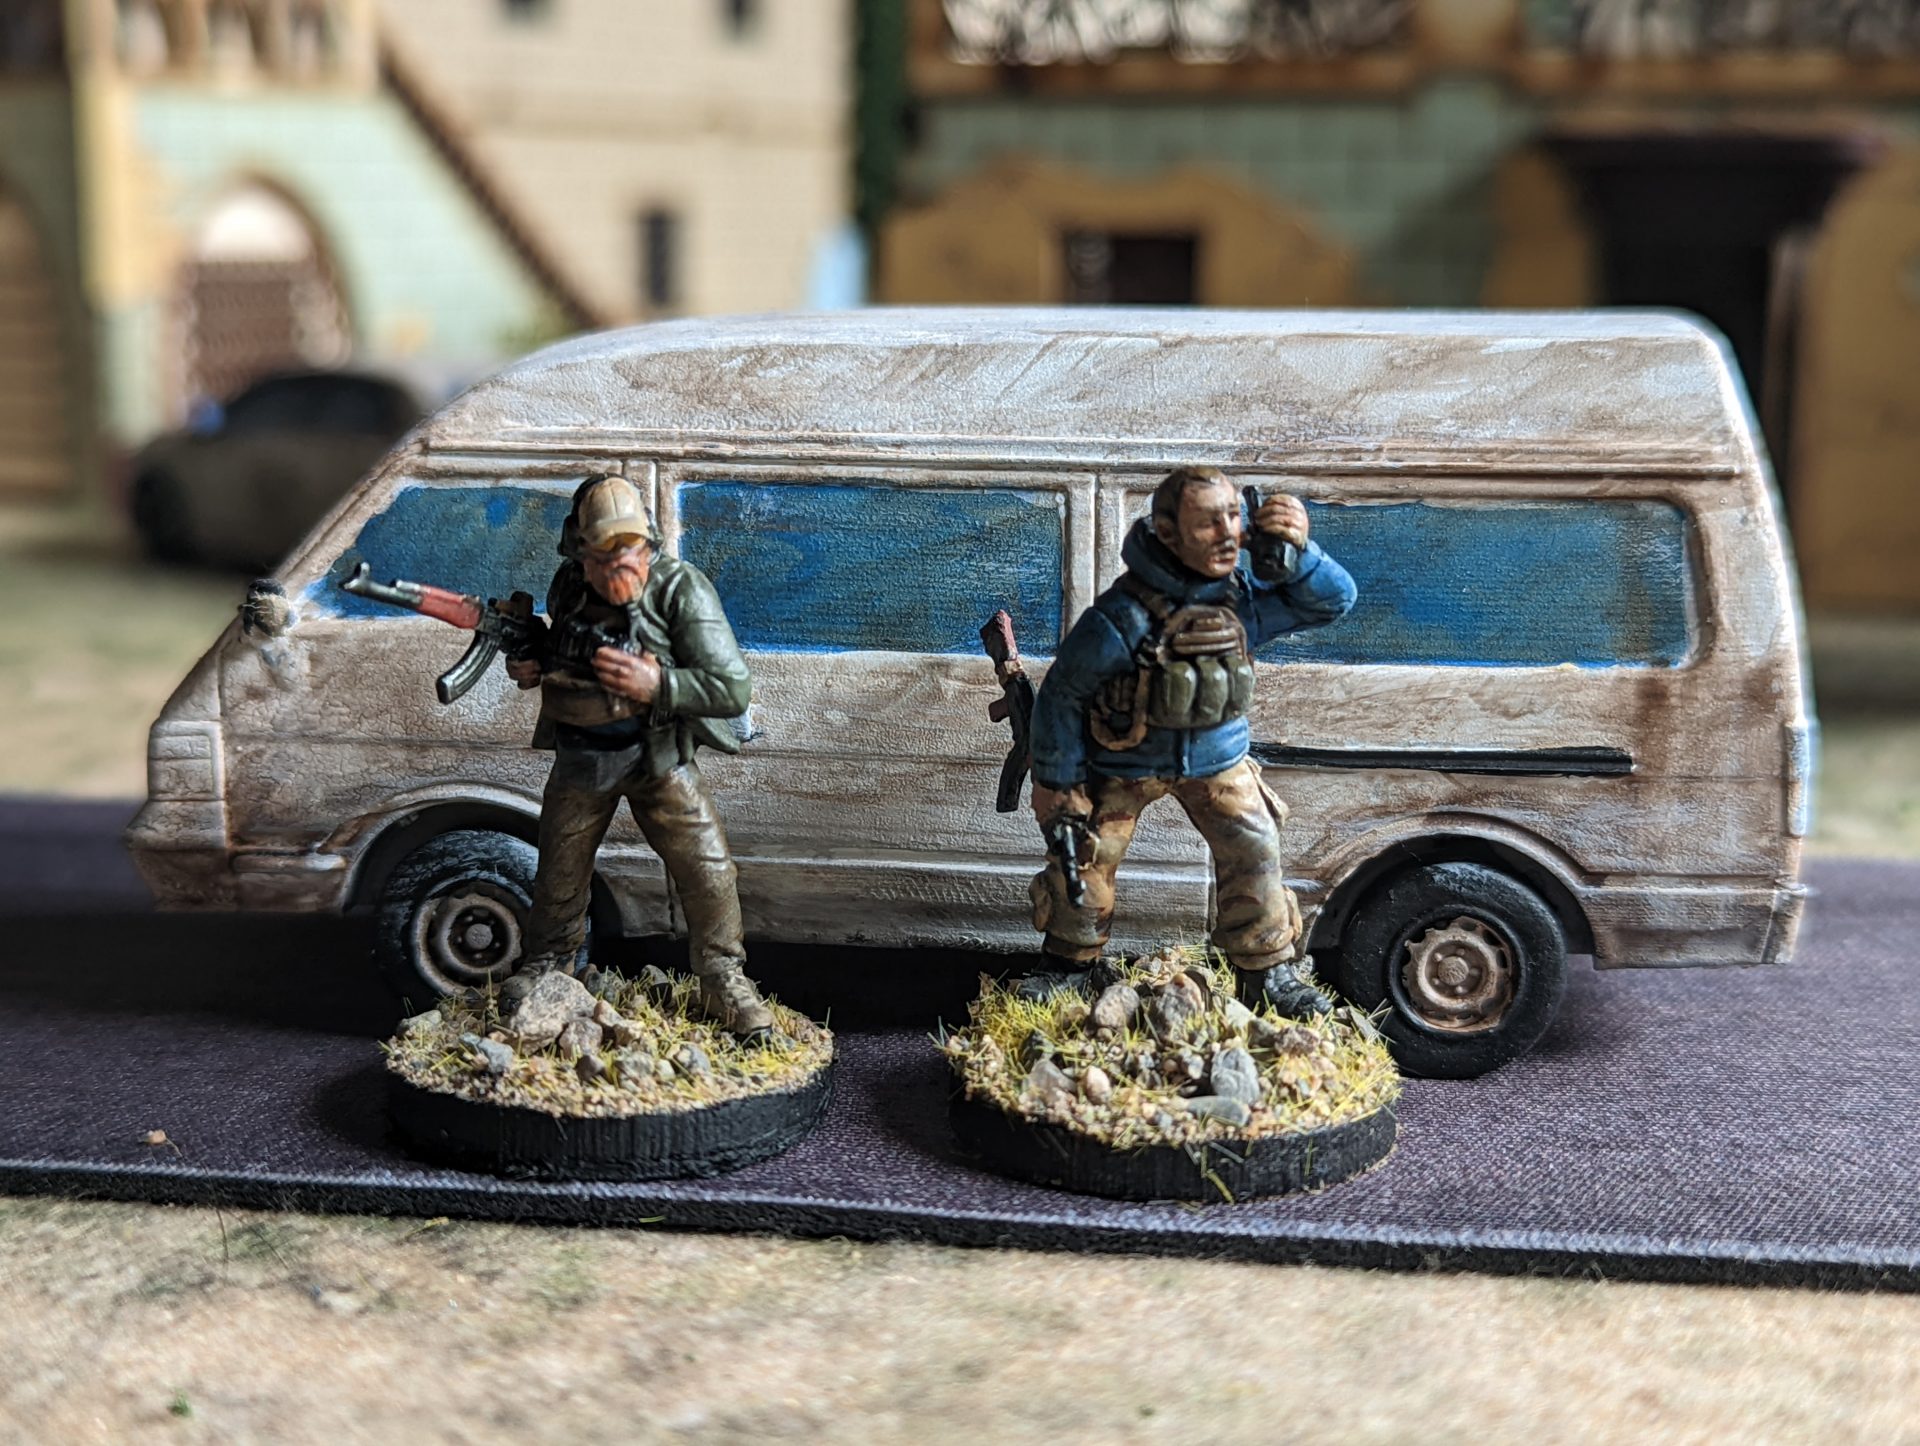
There is something very useful about armed figures painted in a mix of civilian and camo. As someone who plays a variety of different games and missions, this style lets you represent anyone from an insurgent with a little bit of cash up to a member of a three character agency who now has to go active. It also helps that they are both fun models to paint!

The Spectre SAD (or Special Activites Division, the paramilitary arm of the CIA) was the only solo figure released by the Spectre patreon in June (although I’ll save that grumble for another time). That said, I actually really like this model – it has that Old Spectre feel, almost like something that might have appeared back in the original Kickstarter for operations in Africa or at Salute as a special mini. For a 3D printer, the figure is nicely supported and sensible setup so there should be. It’s also important to note, the STL files from Spectre come with same little base puck as the physical figures.
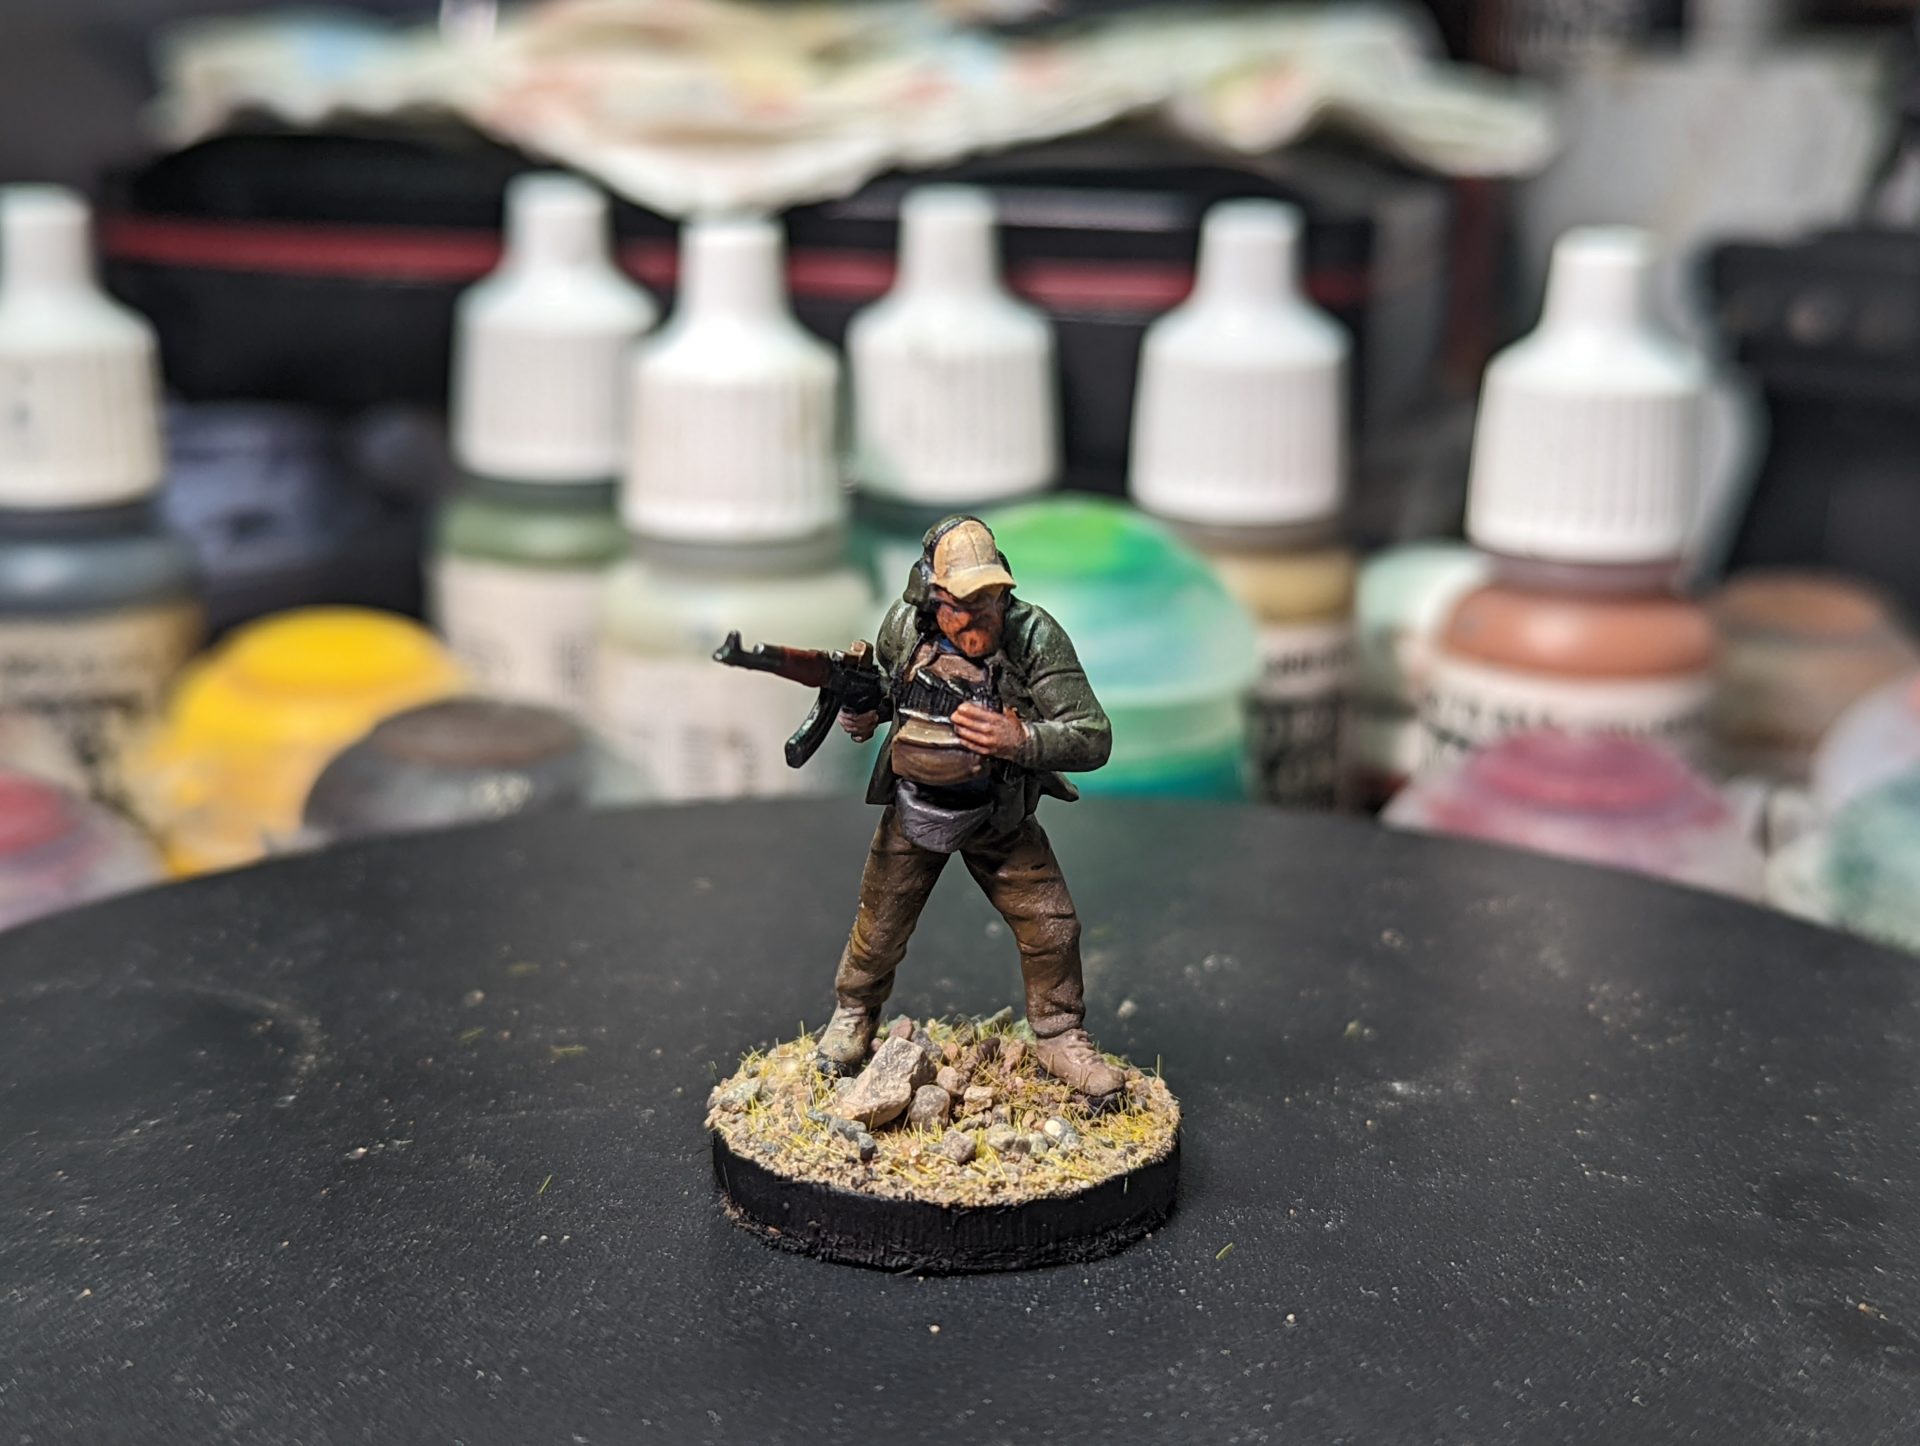
He cleans up pretty well and easily came away from the supports wise. One of the main things while painting was doing skin differently – in most of my ultramodern figures, I painted them up using medium flesh tone, agrax and that’s it. However, the downside is that it just looks a bit… yellow rather than anything fleshy. For this reason, I’ve decided to use some more flesh washes over various fleshtones. As for the colours on his clothing, I went for some earthy tones, going for a practical look. One think I quite liked was the different shades of colour used for his vest, pouches and bum bag. It makes it look like he’s pulled it together over time, finding the pieces that work and keeping them on. I also was really happy with my new final touches – drybrushing the original shade of each part using makeup brushes before doing the dust pass. This does the job of highlighting without me having to sit down and get to work.

One thing to mention is that this guy is very low profile (aside from the AK) – no rucksack on his back, his web gear looking like it would fit under his jacket. His AK is a mix of old and new – the original style furniture but with an optic mounts.
If you want one of your own, you’ll find him on the Spectre Patron in the currently released collection. There is currently no plan to release him physically and frankly that sucks.
As for the Anthalonica, I’d already made my comments on their Kickstarter models and sent them off to a new home when I realised the Charity model had already been dispatched. Based off Vitaly Skakun, a Ukrainian soldier who sacrificed himself in the early stages of the conflict on Henichesk bridge near Crimea, I did to begin with struggle to think about how best to use them. However, I eventually broke out the paint and got to work… and then I got to the weapon.

Look, I get it, this is such a specific problem and my brain is broken. However, I really don’t like the style of the weapons on the Anthalonica sculpts, which is a real shame as I think the rest of this figure is spot on, with a really emotive face and a great pose. In the past, I would have grumbled and sold the model away (or more likely let it disappear into my backlog. However, we now live in the future and I have a 3D printer.
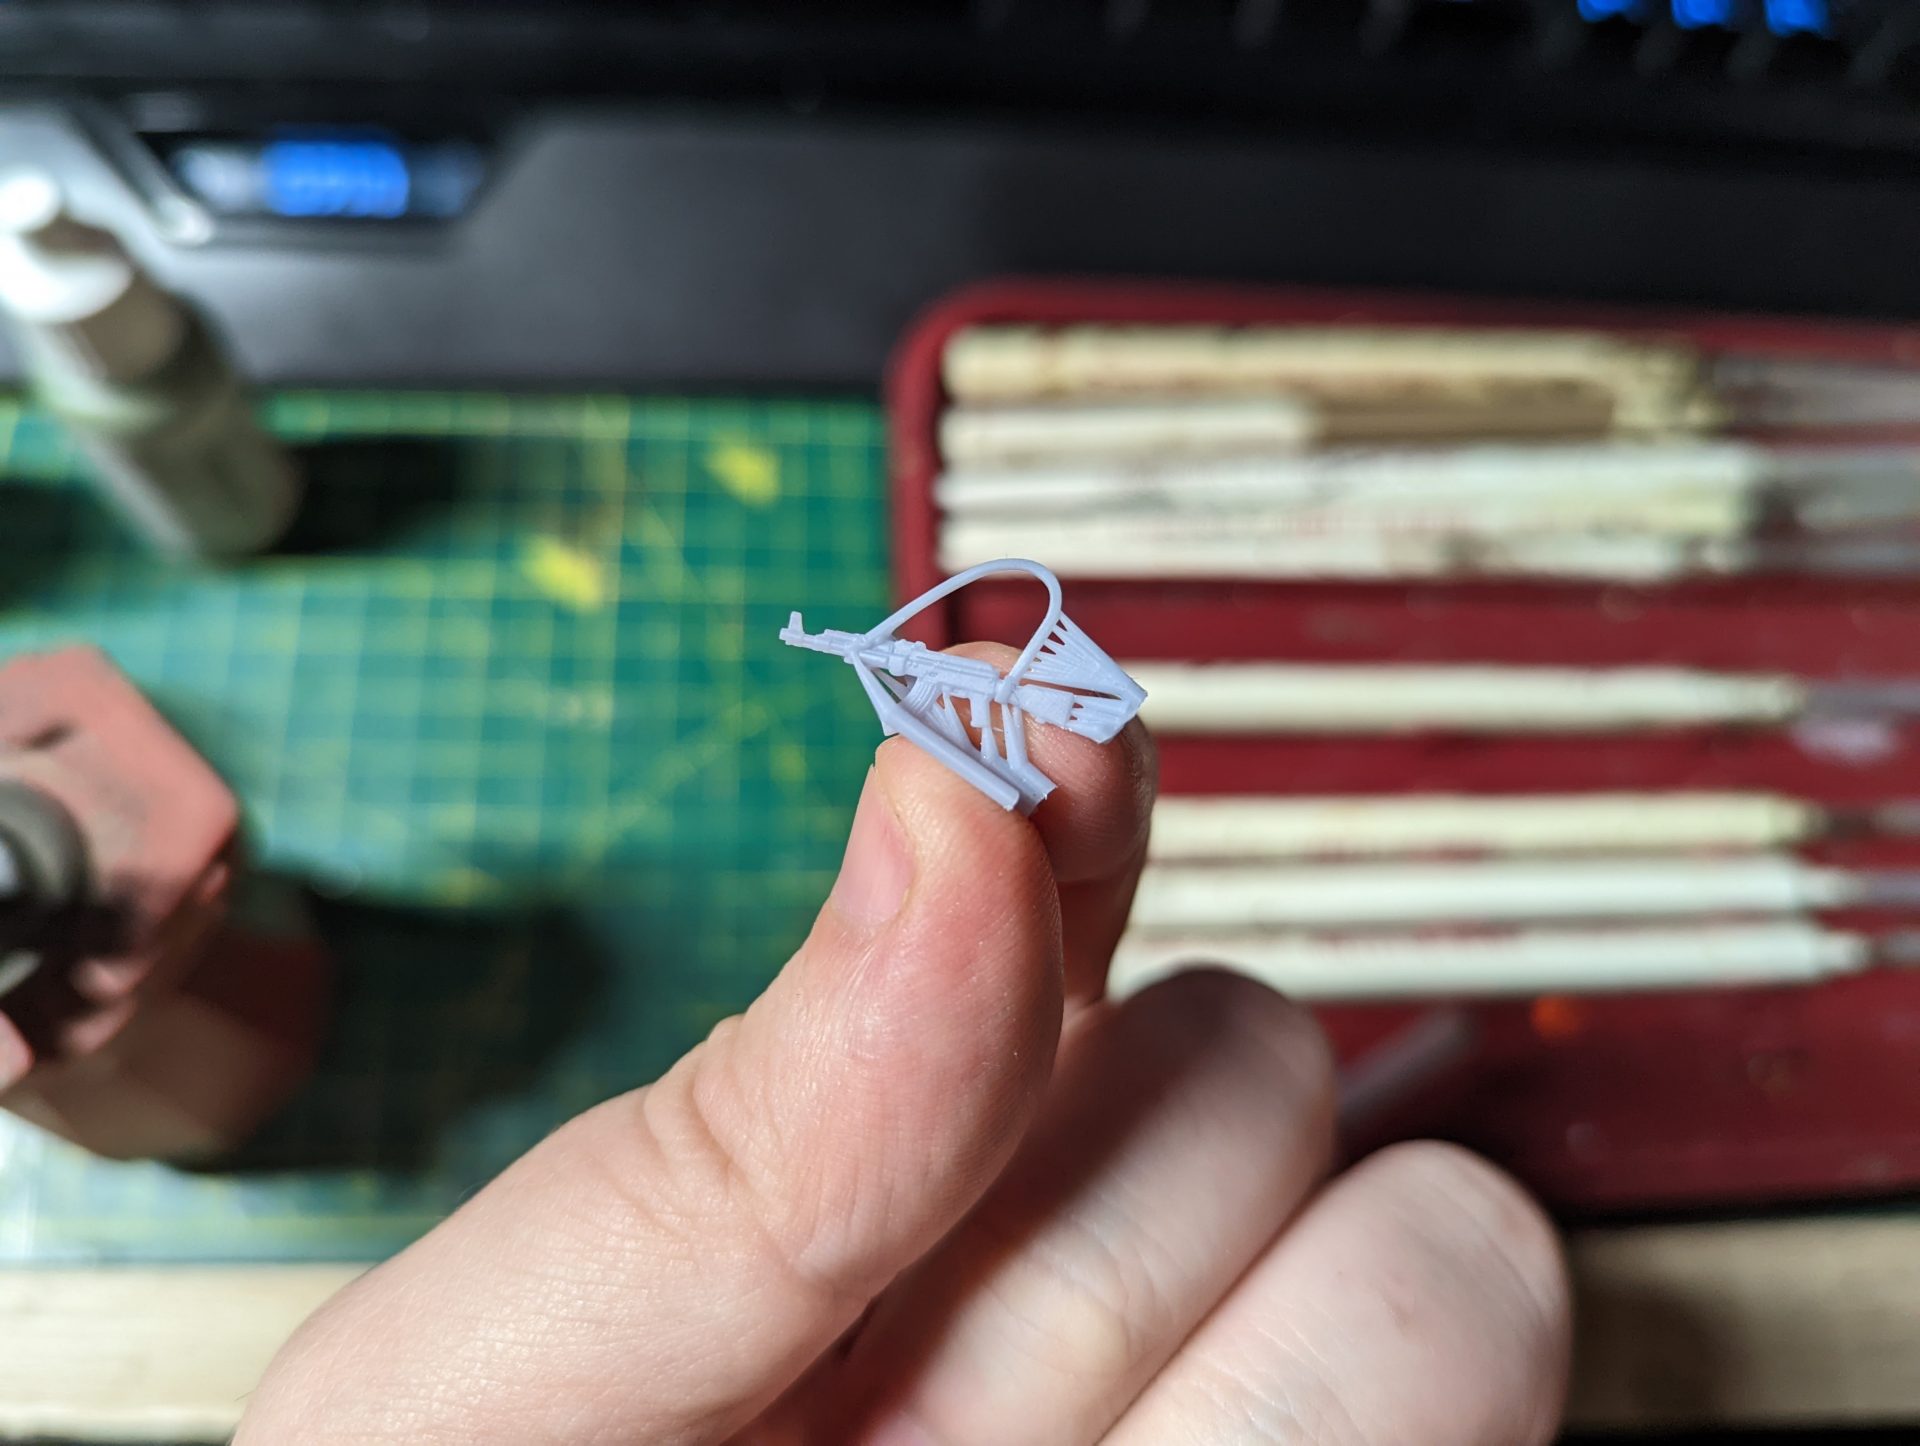
Enter Combat Octopus’s African Reinforcement pack and in particular, the NCO figure. As I’ve said in the past, Combat Octopus’s modular releases are a fantastic source for anyone wanting to make ultramodern figures, giving you a literal pile of pieces each month that can be combined in new and interesting ways. As well as building full figures, they are especially handy for conversion parts – swapping heads out or tweaking weapons or even replacing broken or mis-cast weapons. Luckily I found one with an arm in a similar place to the original model and was able to get it printed off… and then print off a second one after screwing off the trimming point.
So traditionally, it’s usually best to do the surgery BEFORE painting. However, being a creature of chaos, I only decided to change the weapon out once I’d started painting so I’d need to repair the paint scheme. The surgery was
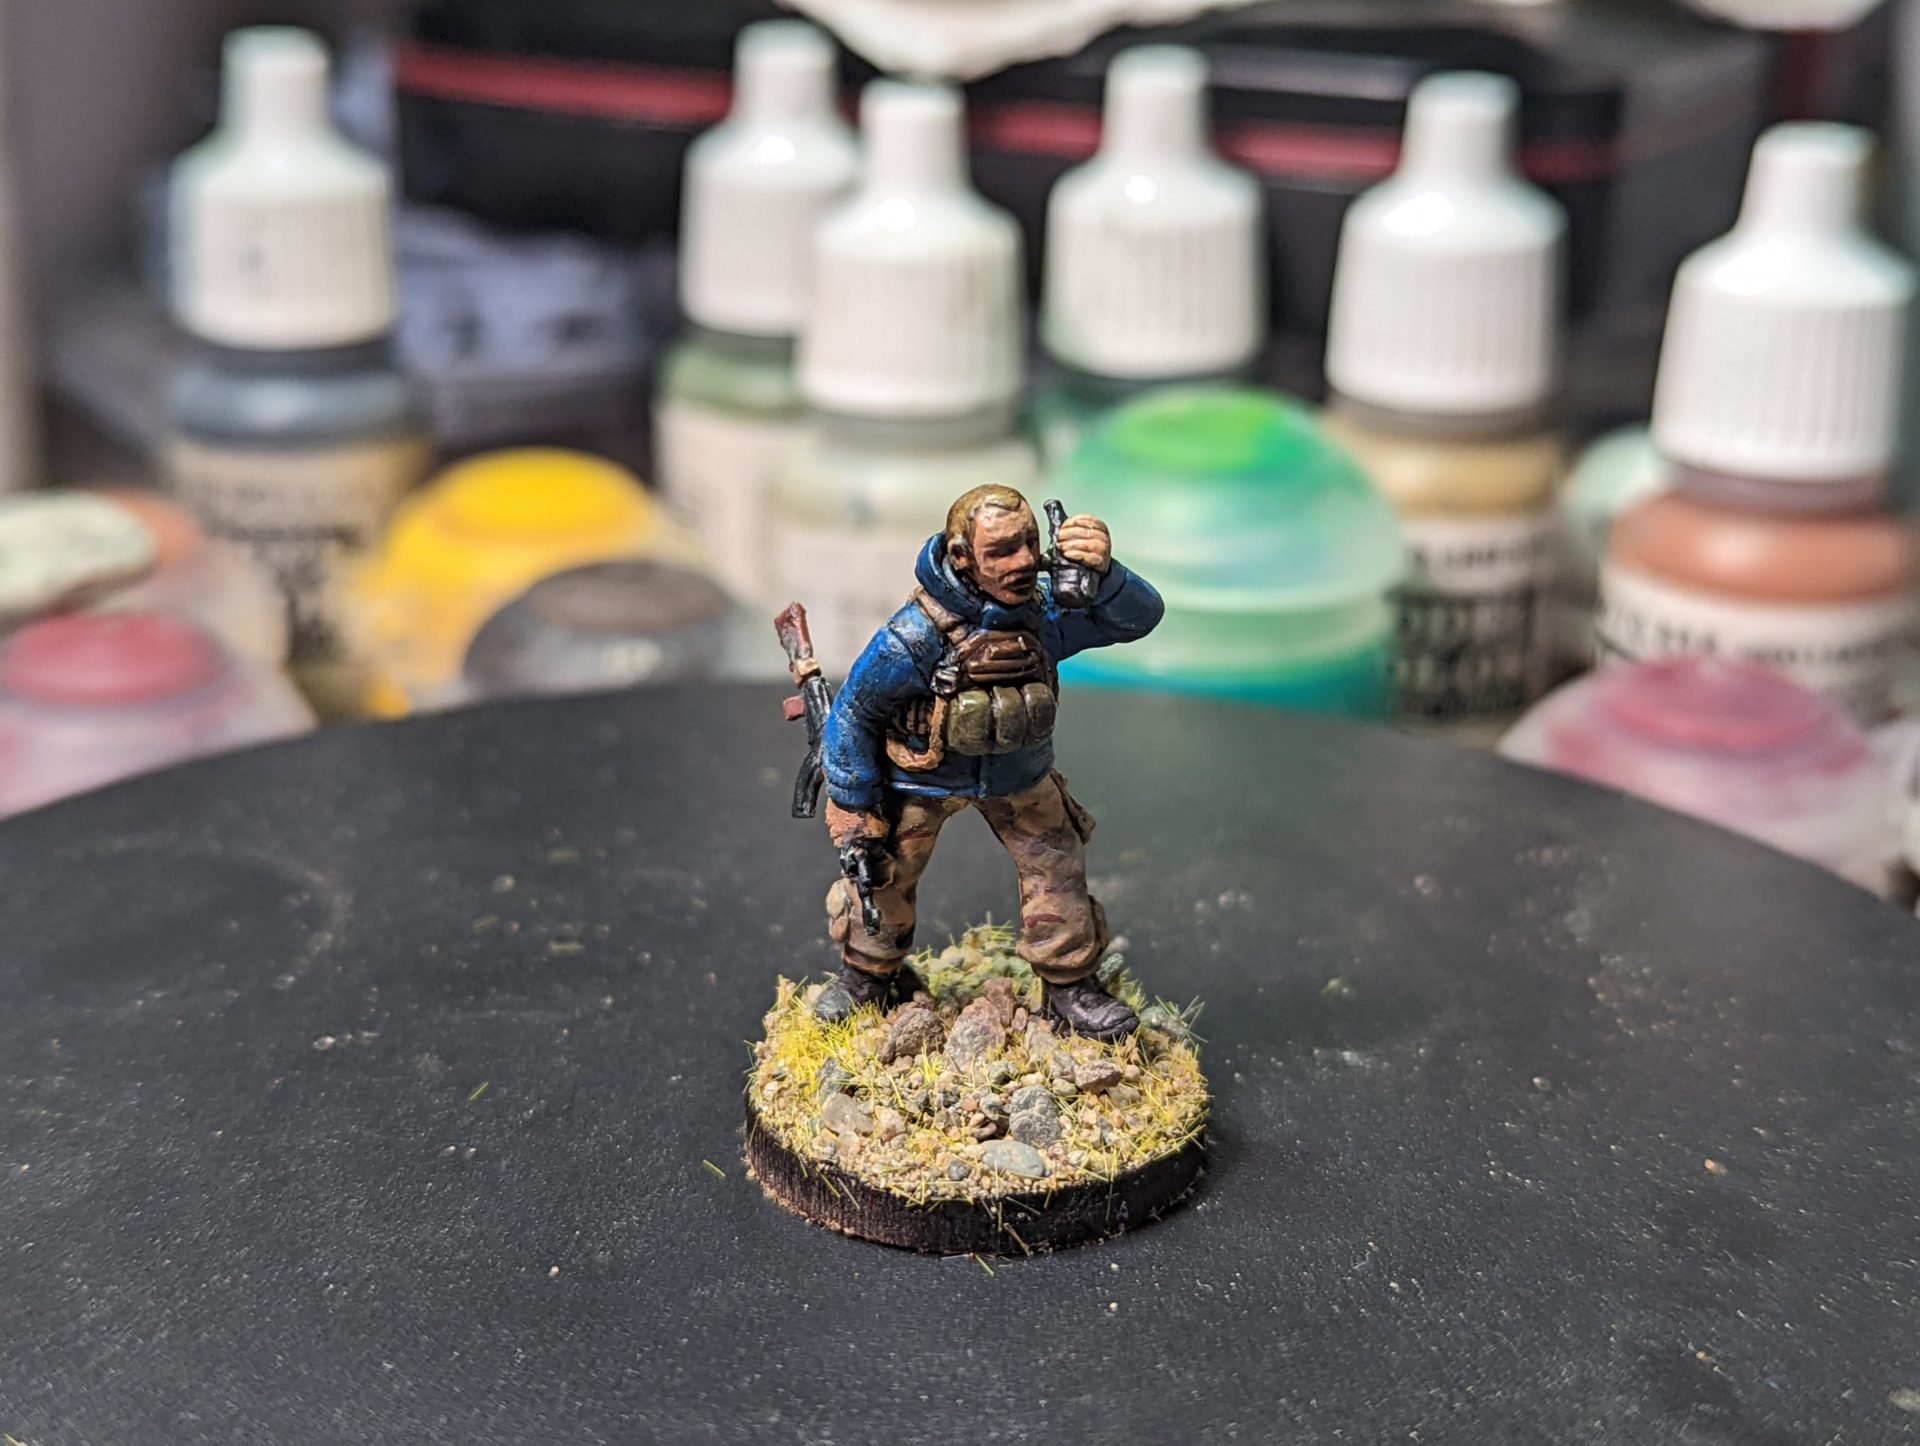
For the overall scheme, I went for a mix of civilian and military clothing. The trousers are my usual three colour desert scheme (with the addition of a heavy drybrush of Iraqi sand). For the plate carrier, I went for a mix of colours, the pouches being green while the vest is tan just to help break up the visuals and make the kit look less uniform. The blue jacket is a nice contrast to the camo trousers, as well as a distinctly non-military colour to be running around in.
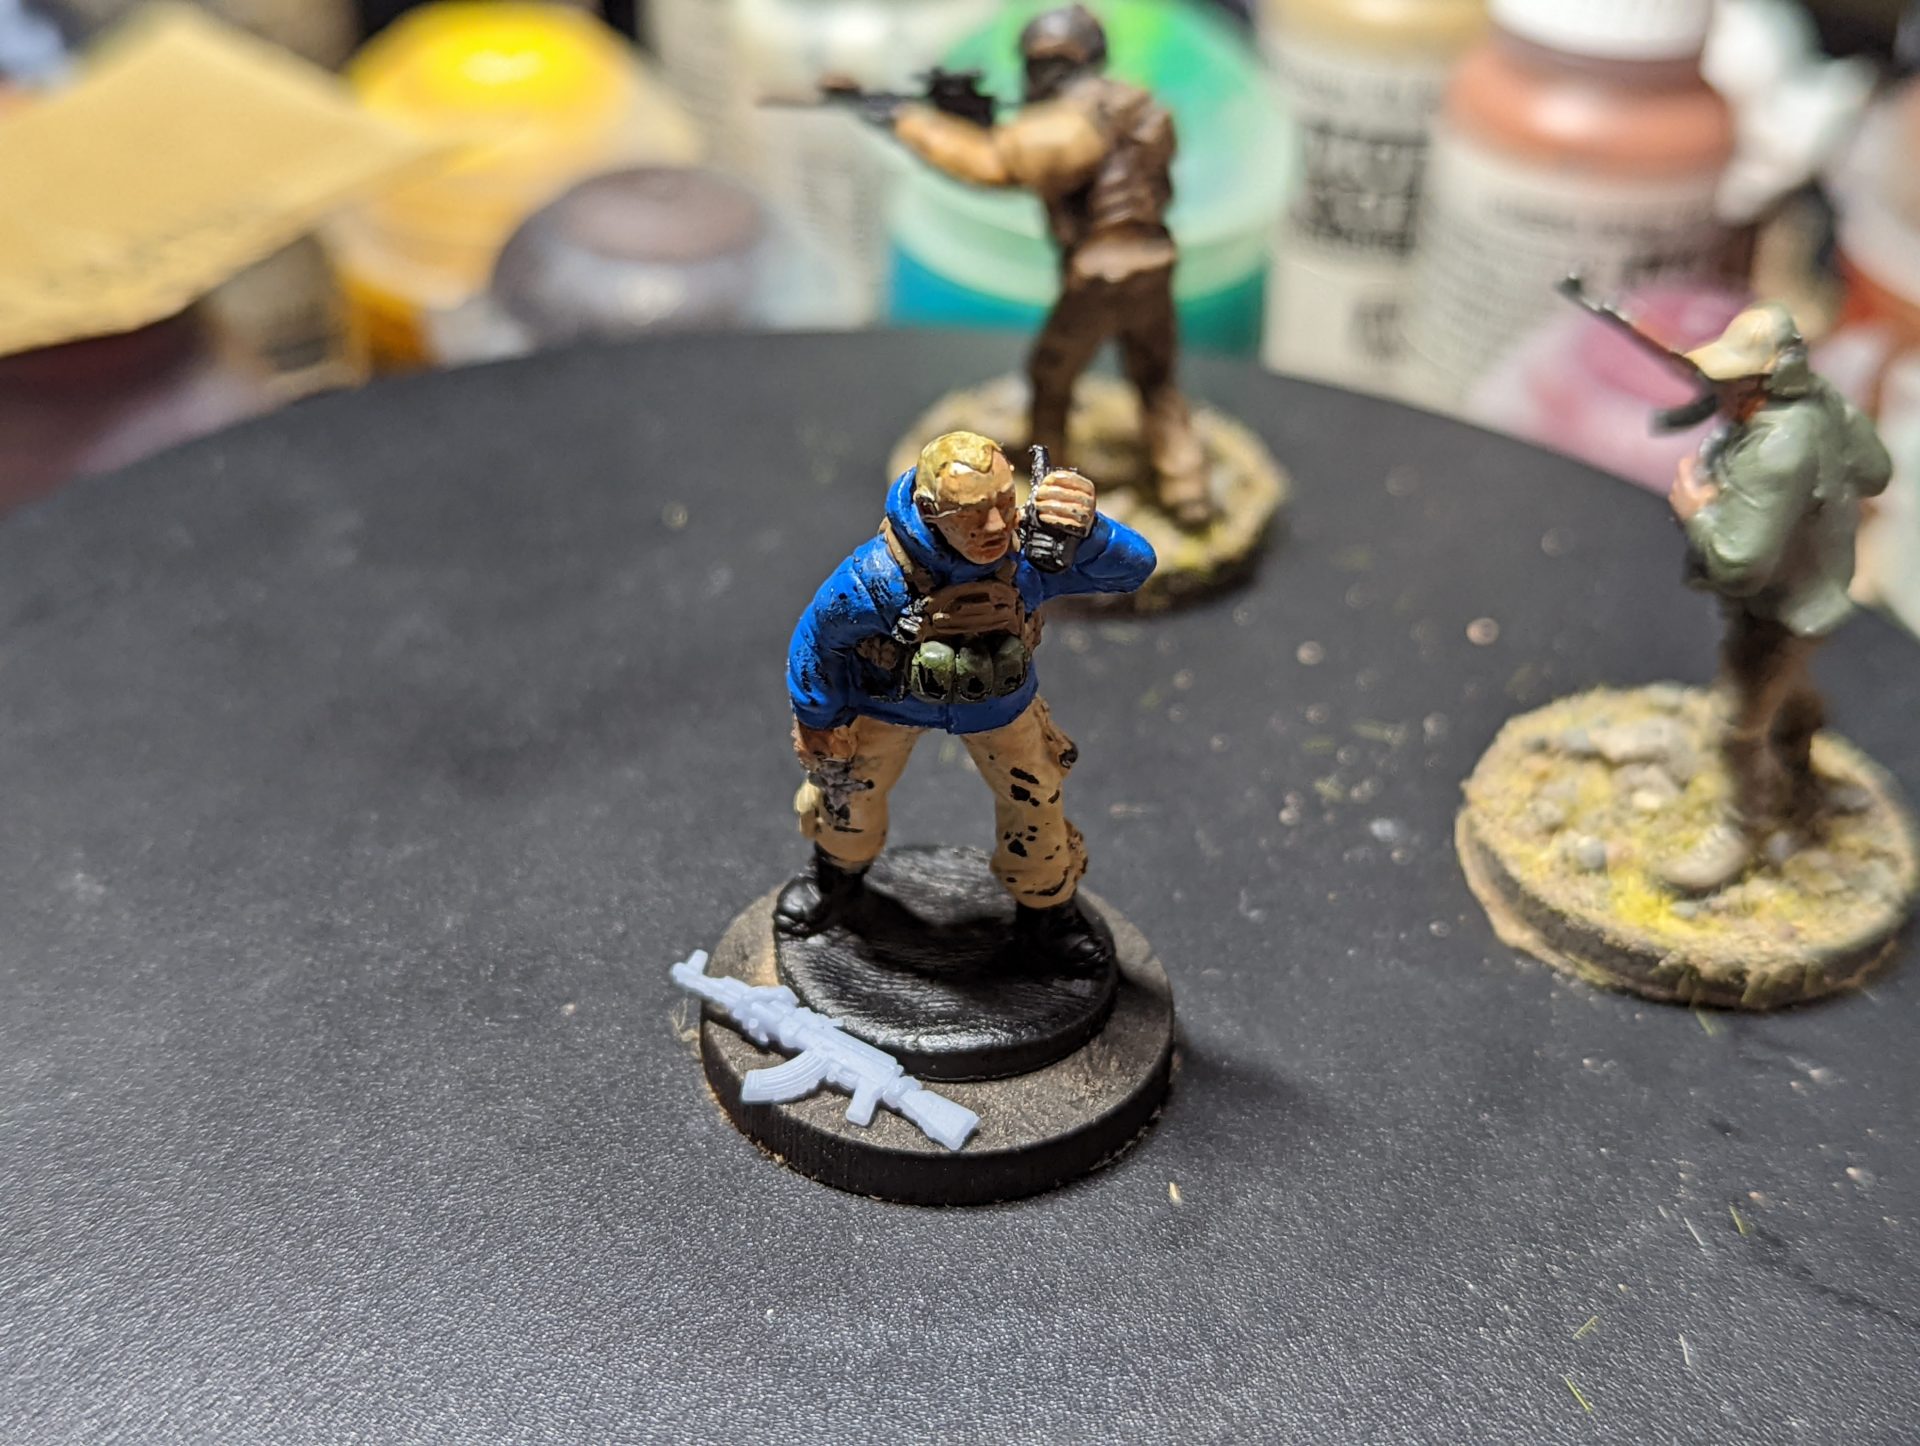
One piece I didn’t properly solve in my conversion was the piece of sling visible on the figure that should connect to the rifle. It does look a touch odd, but rather than risking more damaged by clearing it off, I think it works as some bungee cord attached to the plate carrier.
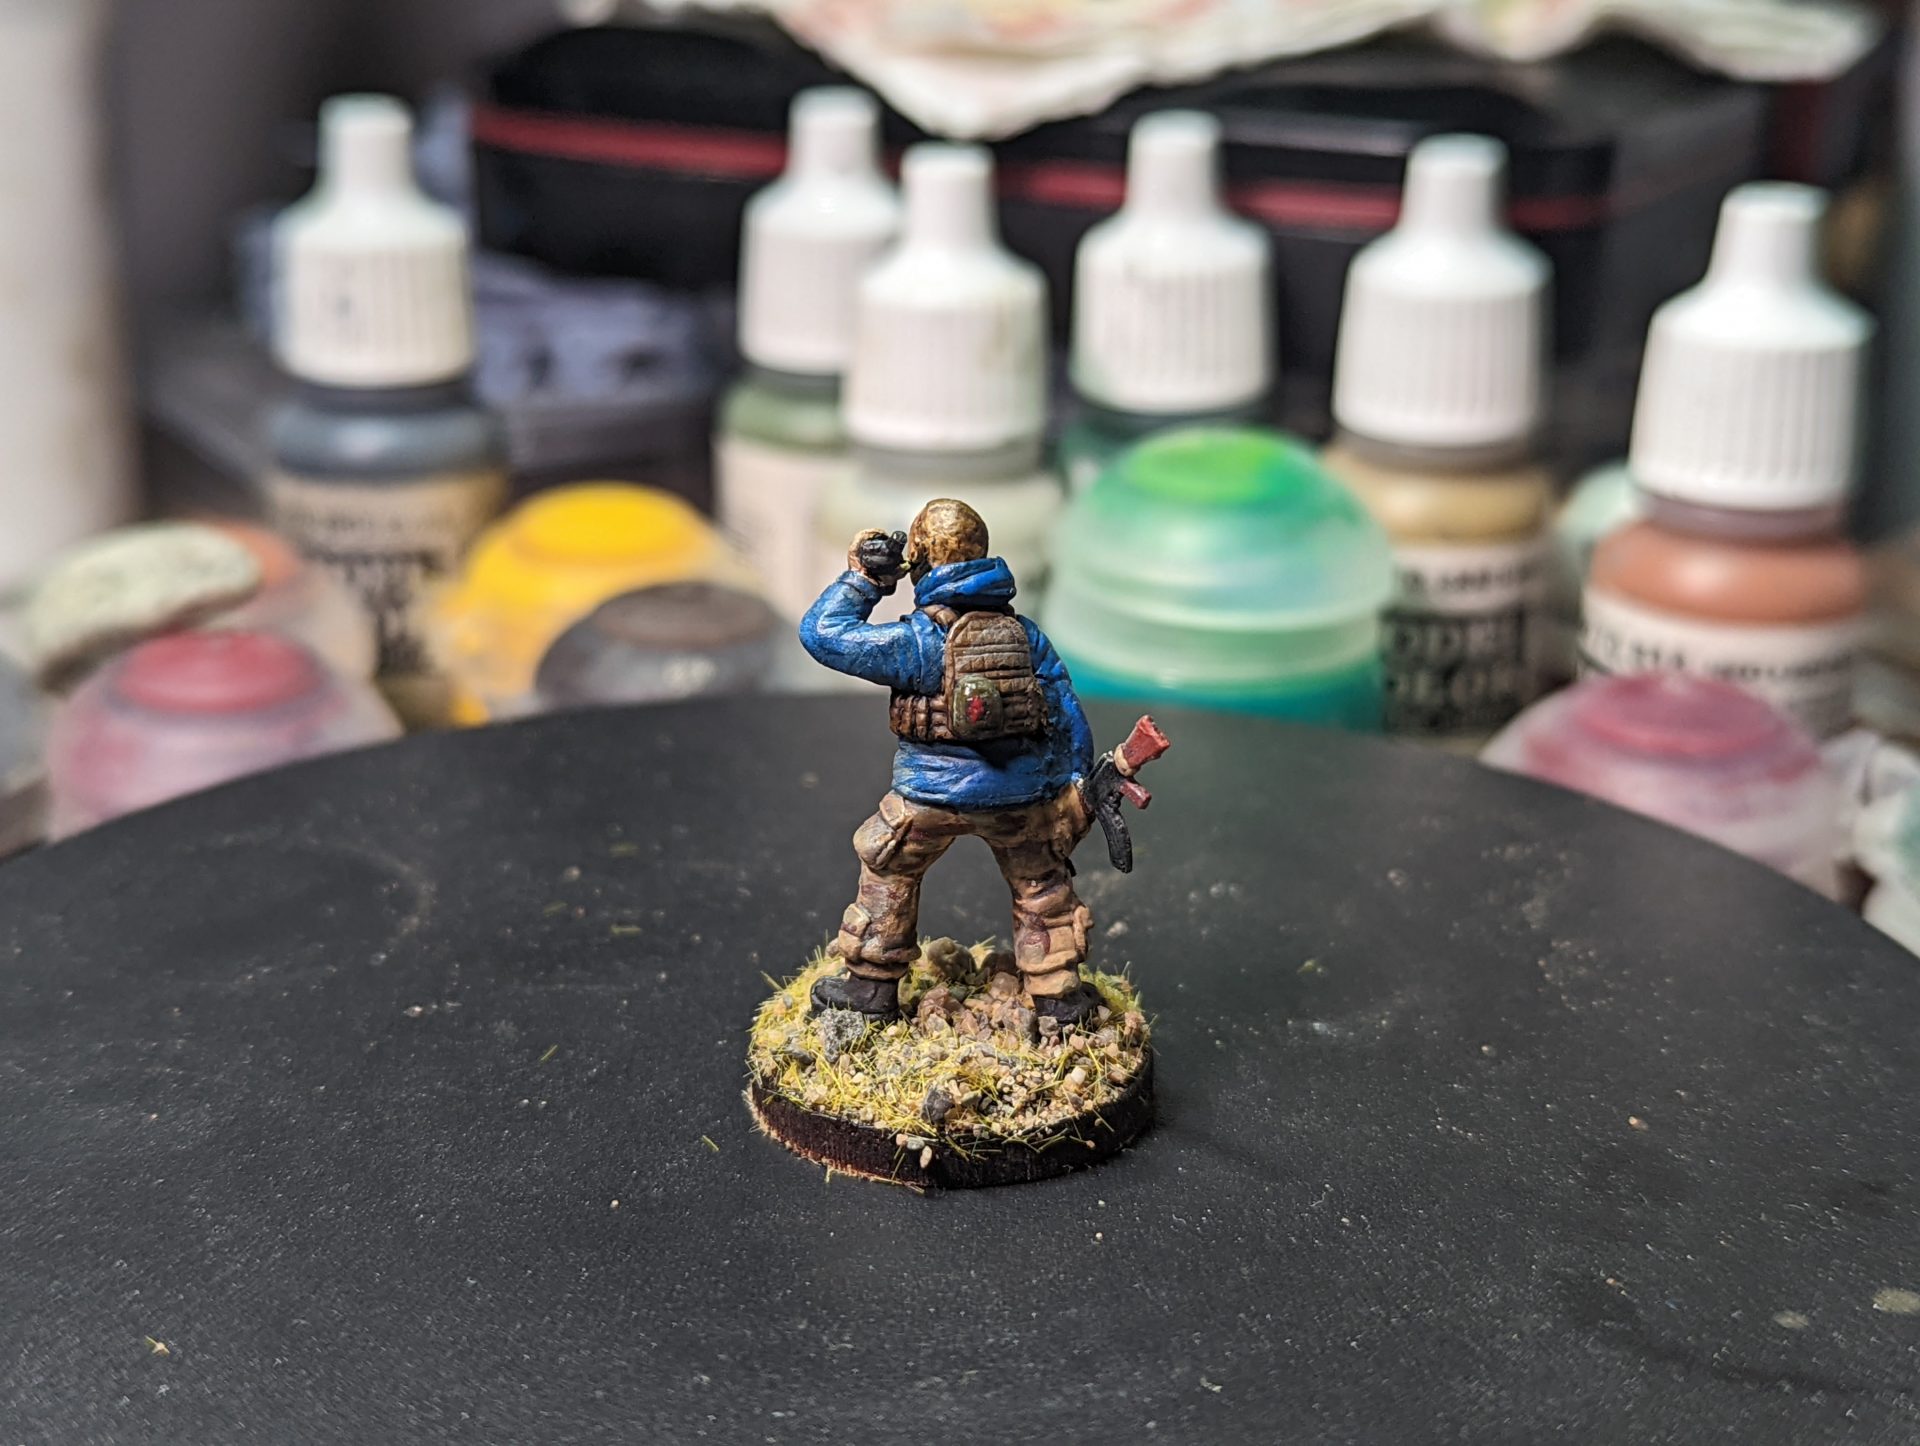
A little detail I really liked was the pouch on the back of the plate carrier. I decided to make it look like a medical pouch, including a super tiny red cross which I probably should have done a better job on. With the 3d printed AK, you can see there is a small piece of cloth around the stock that was part of the sling on the original part. I originally tried out painting this a distinctive colour, but in the end was happier to just paint it up with Iraqi Sand so it would stand out on the stock.
If you look carefully, you might just be able to spot some of the area I cut. However, I think for tabletop use it’s barely noticeable, as I was able to dig out enough material to hint at the plate carrier cummerbund going under the arm.
Sadly, as a charity item, this model is no longer available from Anthalonica. However you can find more details on it at the Anthalonica website
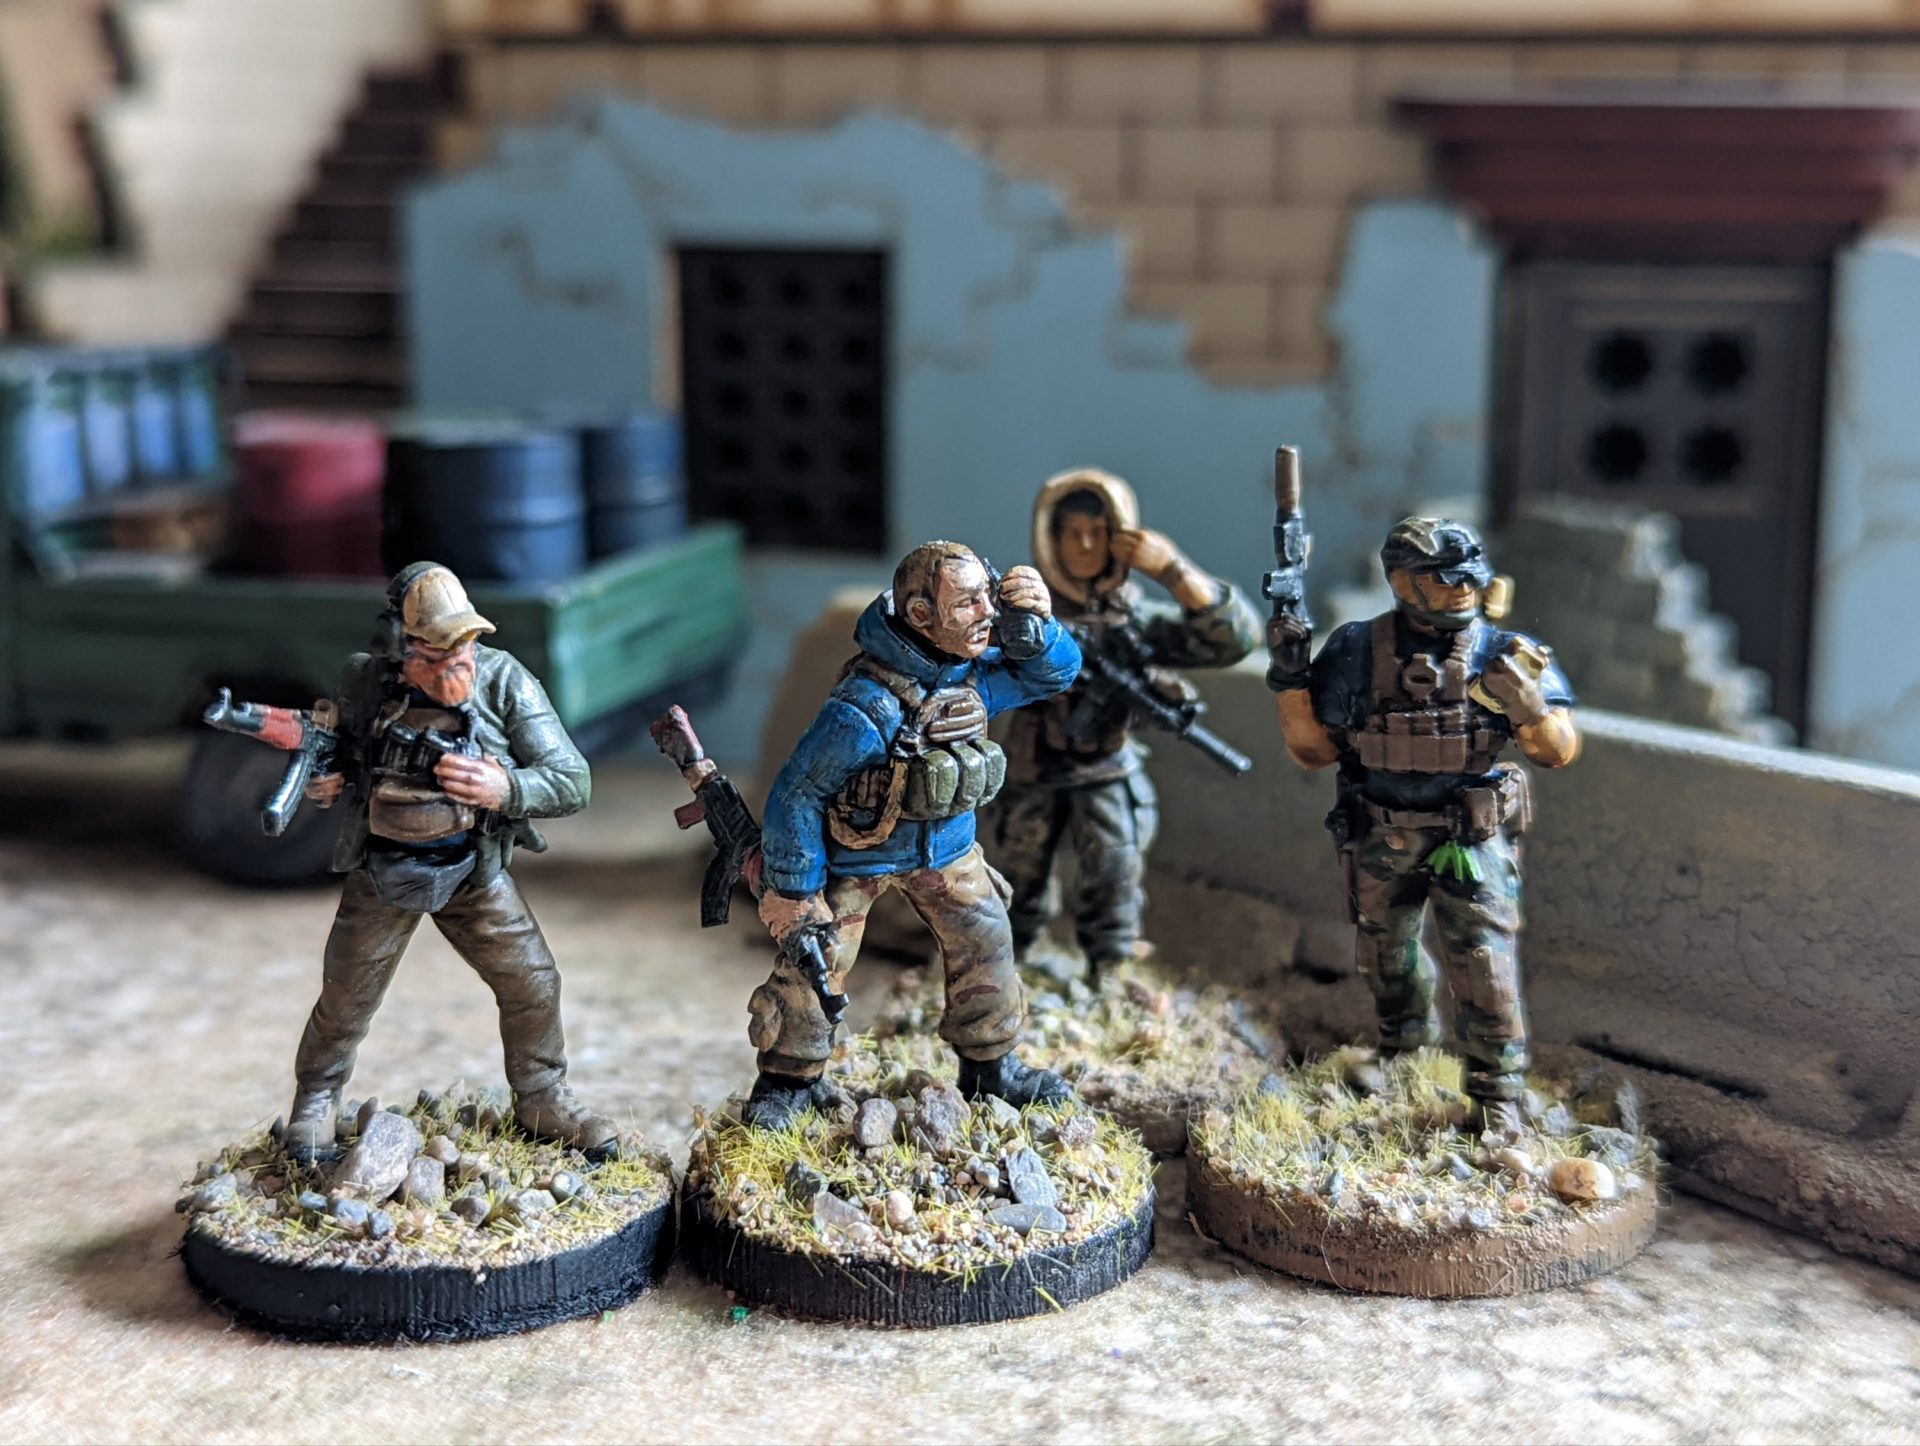
These were some fun figures to paint up, simple paint schemes but I’m quite happy with the end result. They have definitely been a nice break between batch painting up the Shurta, getting to really focus up on a few small things.