
Having been working like a mad person, I decided to actually take the easter bank holidays off this year. And so, as is tradition, I messaged my Dastardly Regular opponent to request a scuffle/setup a game. After a misunderstanding of days and me declining to run an Ultramoderns game (the rules still being WIP), I was greeted with an unusual idea thanks to the addition of my Creative Regular Opponent.
“Napoleonic Sharp Practise?”
Now, as you might know, I have a limited interest in the era of black powder games (probably due to falling asleep during games of Black Powder during the frequent rules arguments) – I’m not a huge fan of the massed gun lines on the battlefield, even if I can approve of the visual aesthetics of the eras involved, especially with Napoleonics. However I have enjoyed my time with Sharp Practise, much as I have with most of the Too Fat Lardies rules I’ve sat down to play – despite the setting not doing much, there are just enough fun mechanics to keep me excited.
Also I’m not a heartless man – I like Sharpe novels and TV adaptations as much as anyone else.

We find ourselves somewhere in Southern Spain (honest). On the left, the forces of the British find themselves in a meeting engagement against the French and their Genovian allies. Both forces were similar, with a block of line infantry, a block of light infantry, skirmishers, a block of impact cavalry and enough leaders for each. The Genovians were an additional unit of infantry to help match the points values – although highly trained, they are not to happy about serving the French and so their leaders can not command the other nation.
As this was a meeting engagement, both forces would eventually deploy from the centre. The drummer boys would find a use as deployment points.
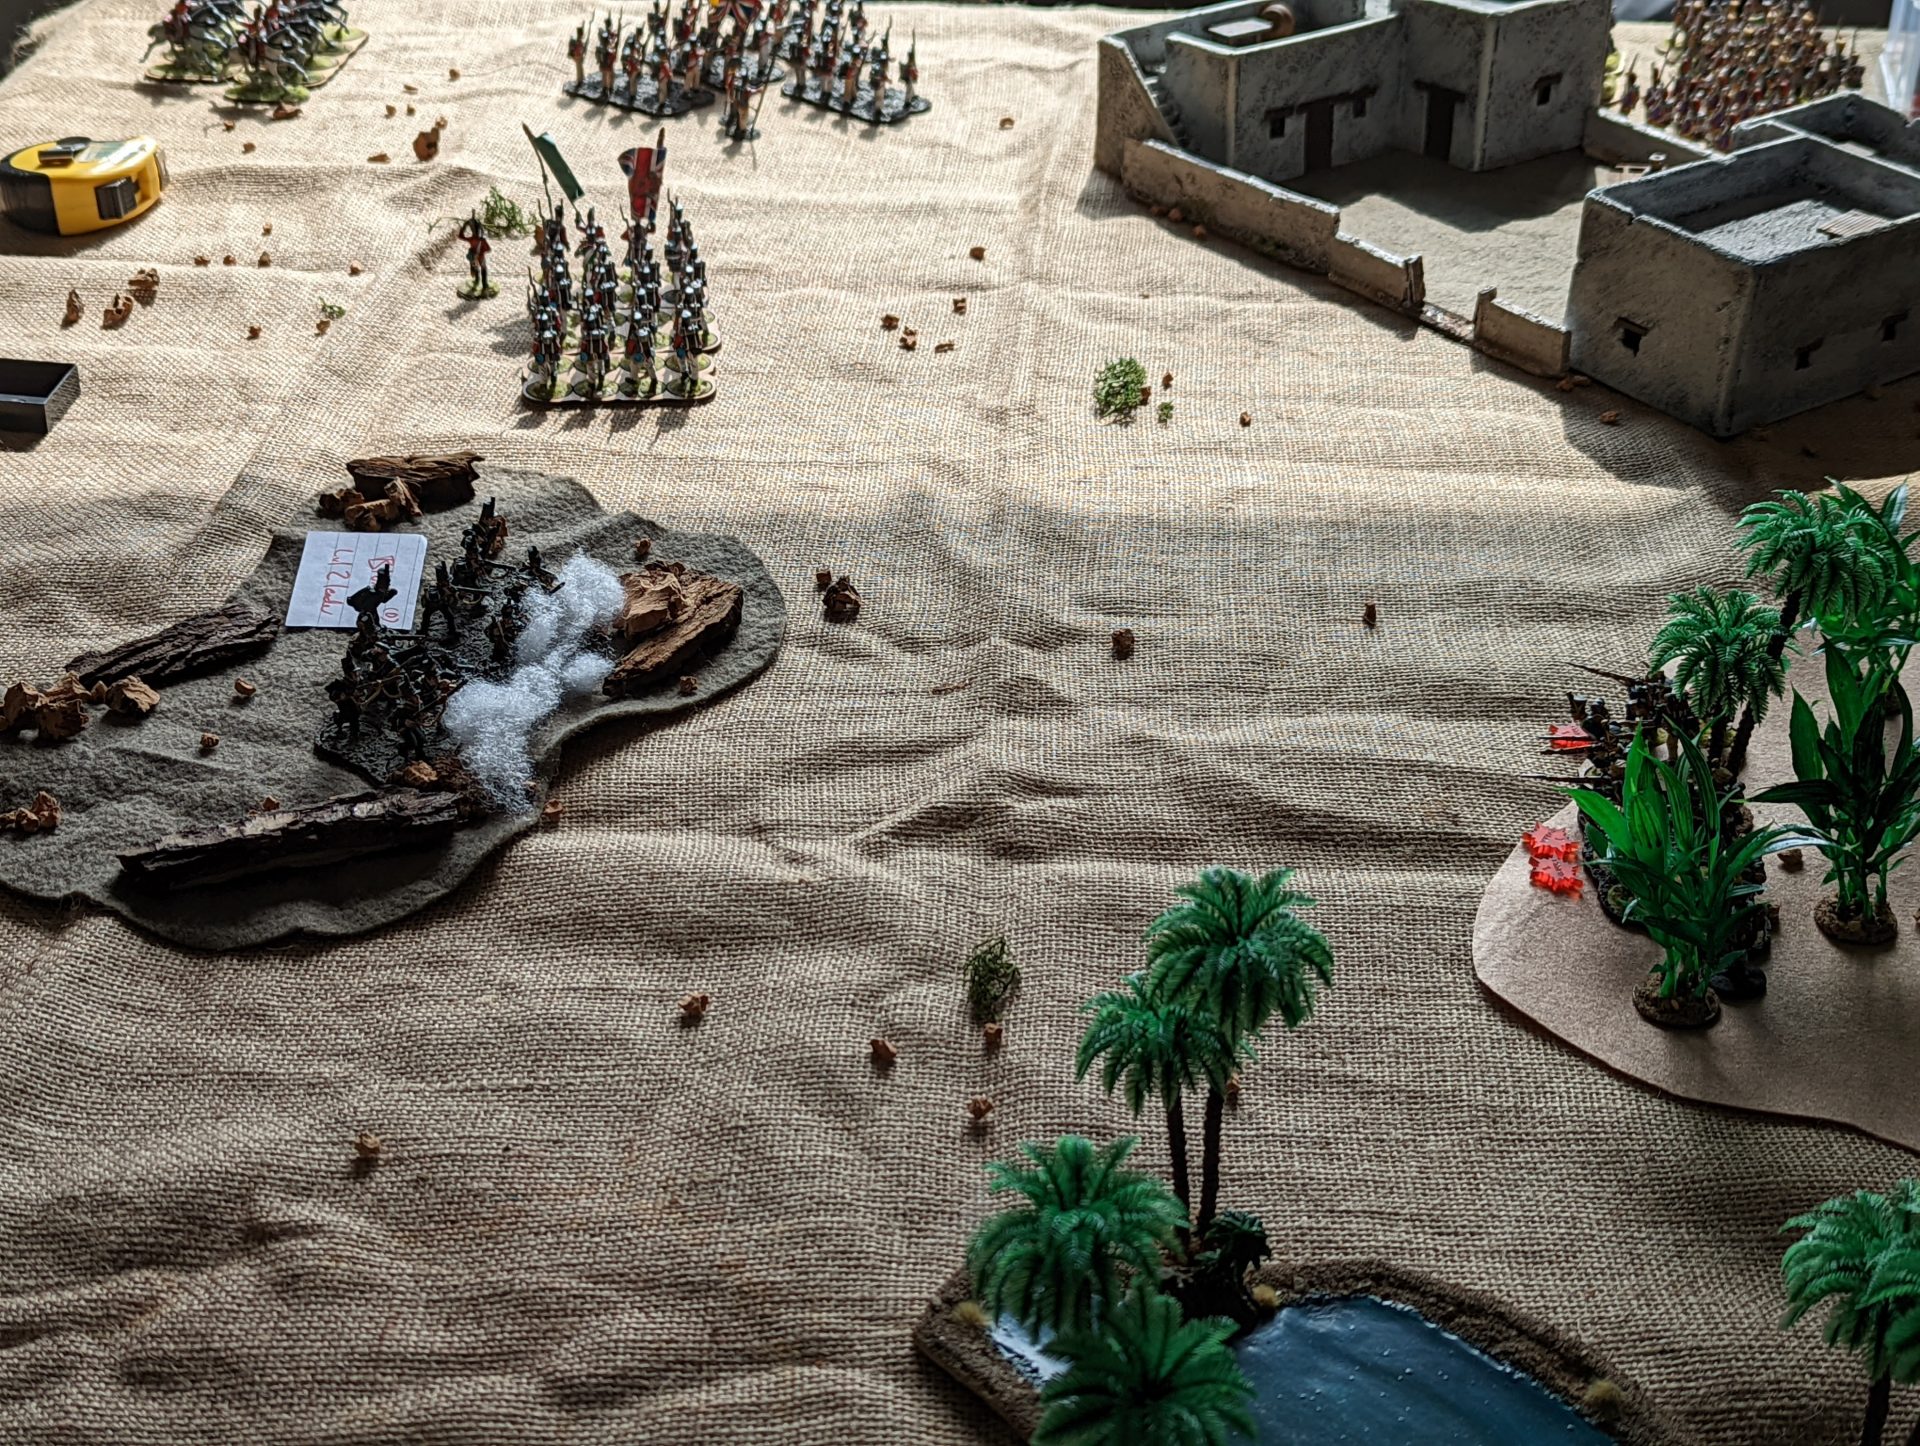
(please ignore the forces further up, they hadn’t been put in the correct place for starting the game as we were too busy getting the scuffle going)
I chose not to actually play in this game, instead taking on the role of checking rules and pulling out the activation chits for this game. I quite like this activation system (it’s one of the few things I genuinely like about Bolt Action) and taking on this role was actually a lot of fun – you get to have a little bit of showmanship when pulling out the cards as well as still being involved in the game. Downside, remember to put the tiffin card BACK in the hat once it’s been used – this minor mistake might explain how the entire game took place in a single Chapter.
As for the game itself, it reminds me very much of all the bits I like from Chain of Command. Things like Force Morale and Bad Things Happening, the dice rolling for shooting and more. And yet – it feels like it’s own game. There is a greater focus on activating leaders, the infantry is slower but cavalry is lighting fast and shooting is… well it’s either terribly innaccurate or a crashing volley that smashes all before it (as you might expect).
Now, as for this game, both players planned to utilise the flanks and form some proper gun lines. However, as you might expect, both groups of skirmishers ended up getting into a spat across the shortest route between the jumping off points. The first rifle volley was pretty damn effective, reducing the Voltigeur leader to level 0.
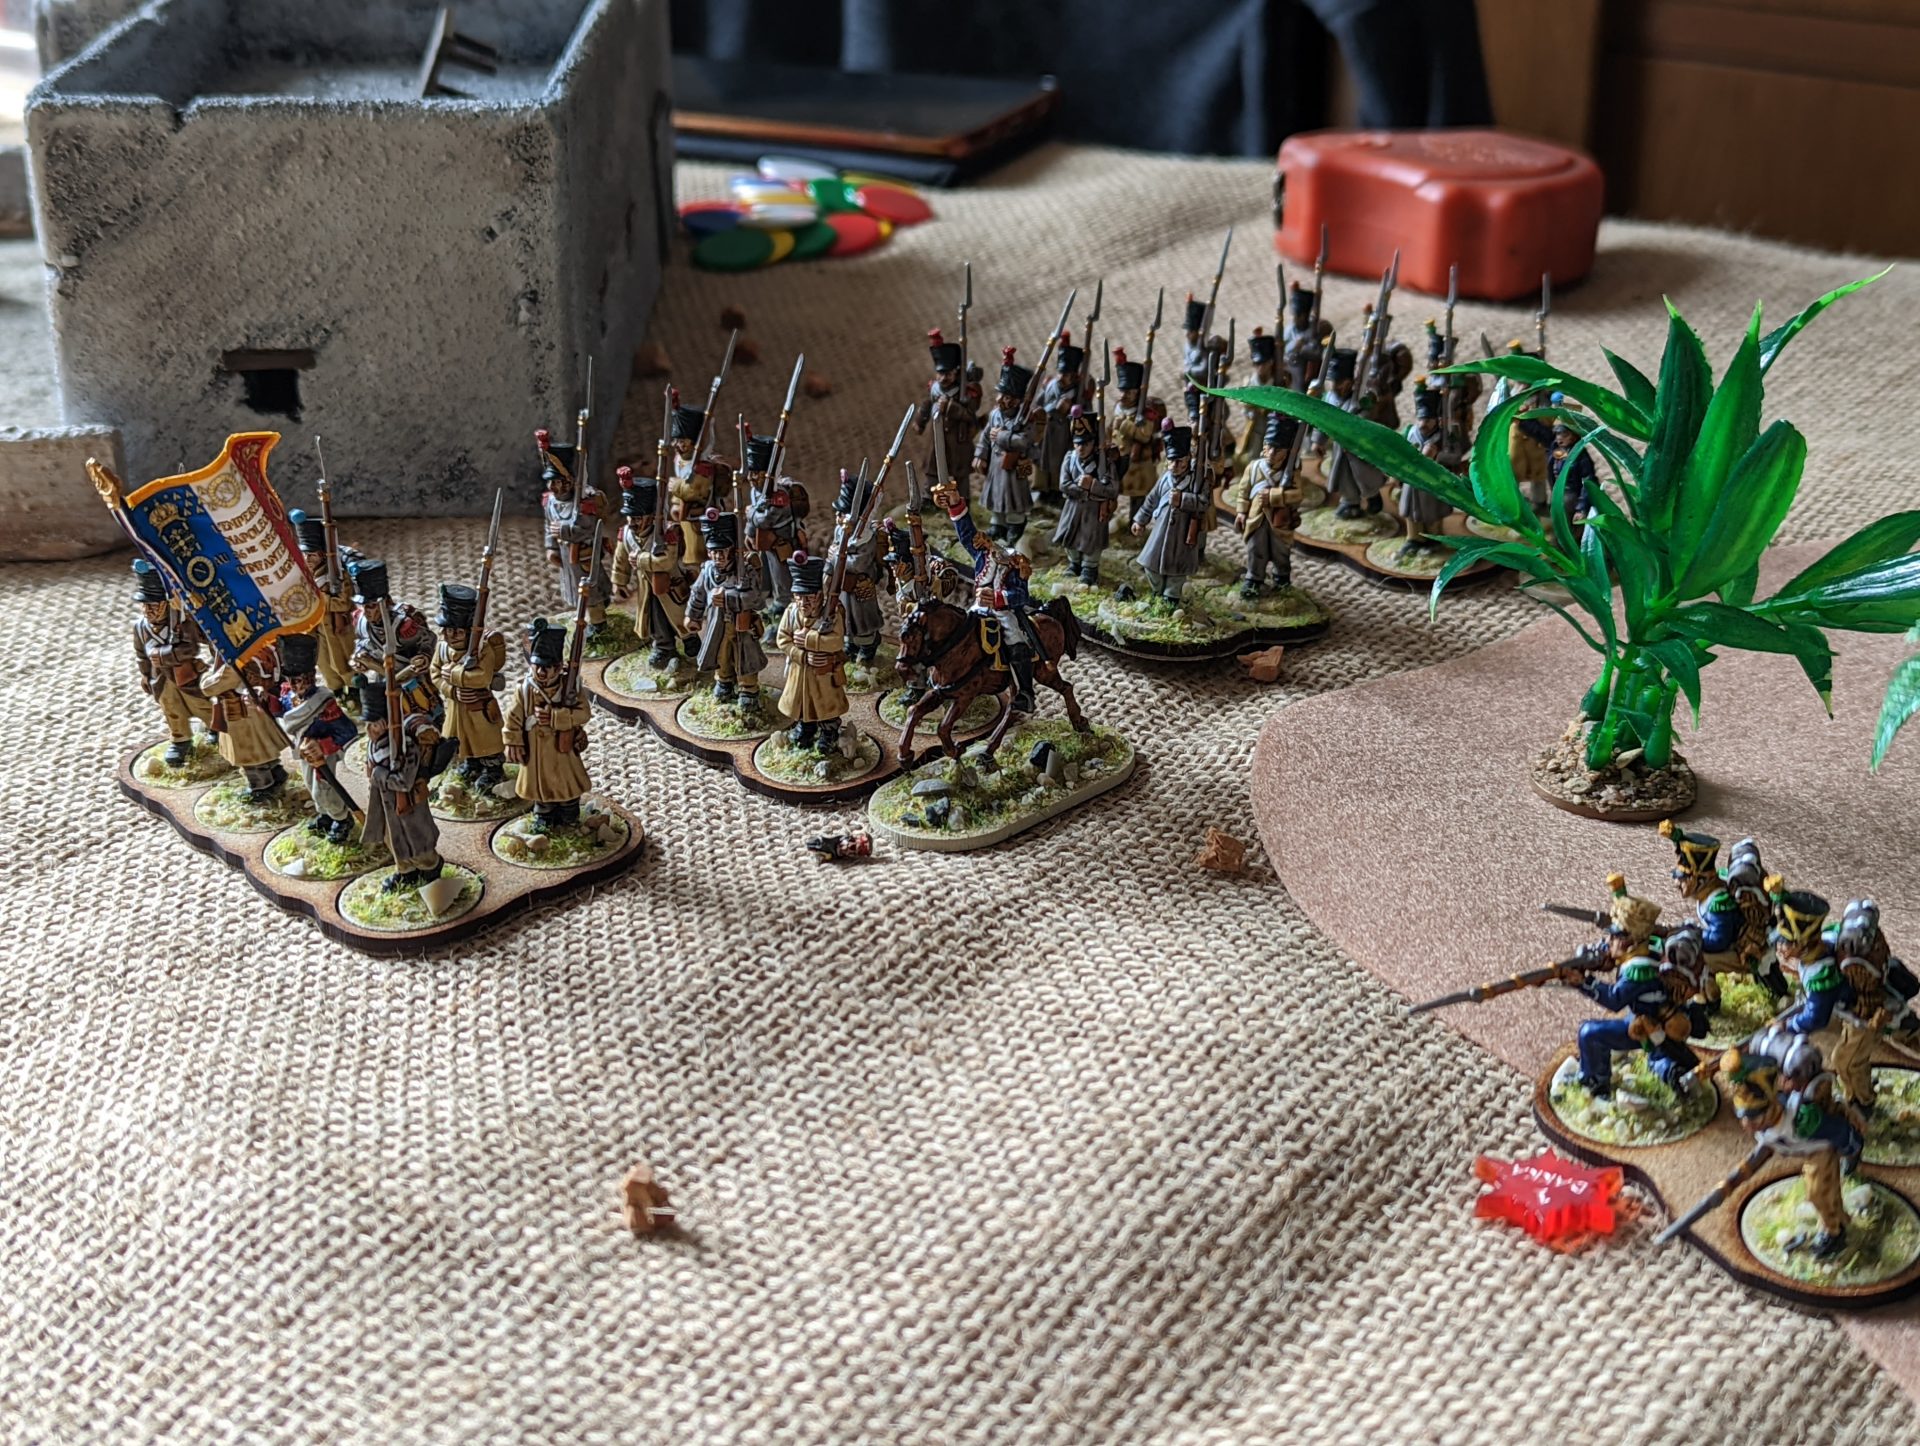
The forces involved all belonged to the Creative Regular Opponent, assembled over the last year and a bit and painted at a disturbingly rapid rate. He does like to claim it’s all down to things like “contrast paint” and “batch painting” but frankly I just think he’s rather good at it. Having nicely painted models for this period especially really helps, especially when they are all fully lined up in proper order or preparing a marching order. I went to double check where the models were from and I got a handy list.
- Perry:
- British line
- French Cuirassiers
- French skirmishers
- Warlord:
- British light
- British rifles
- British dragoons
- French line
- French light
- Victrix:
- Genovian line

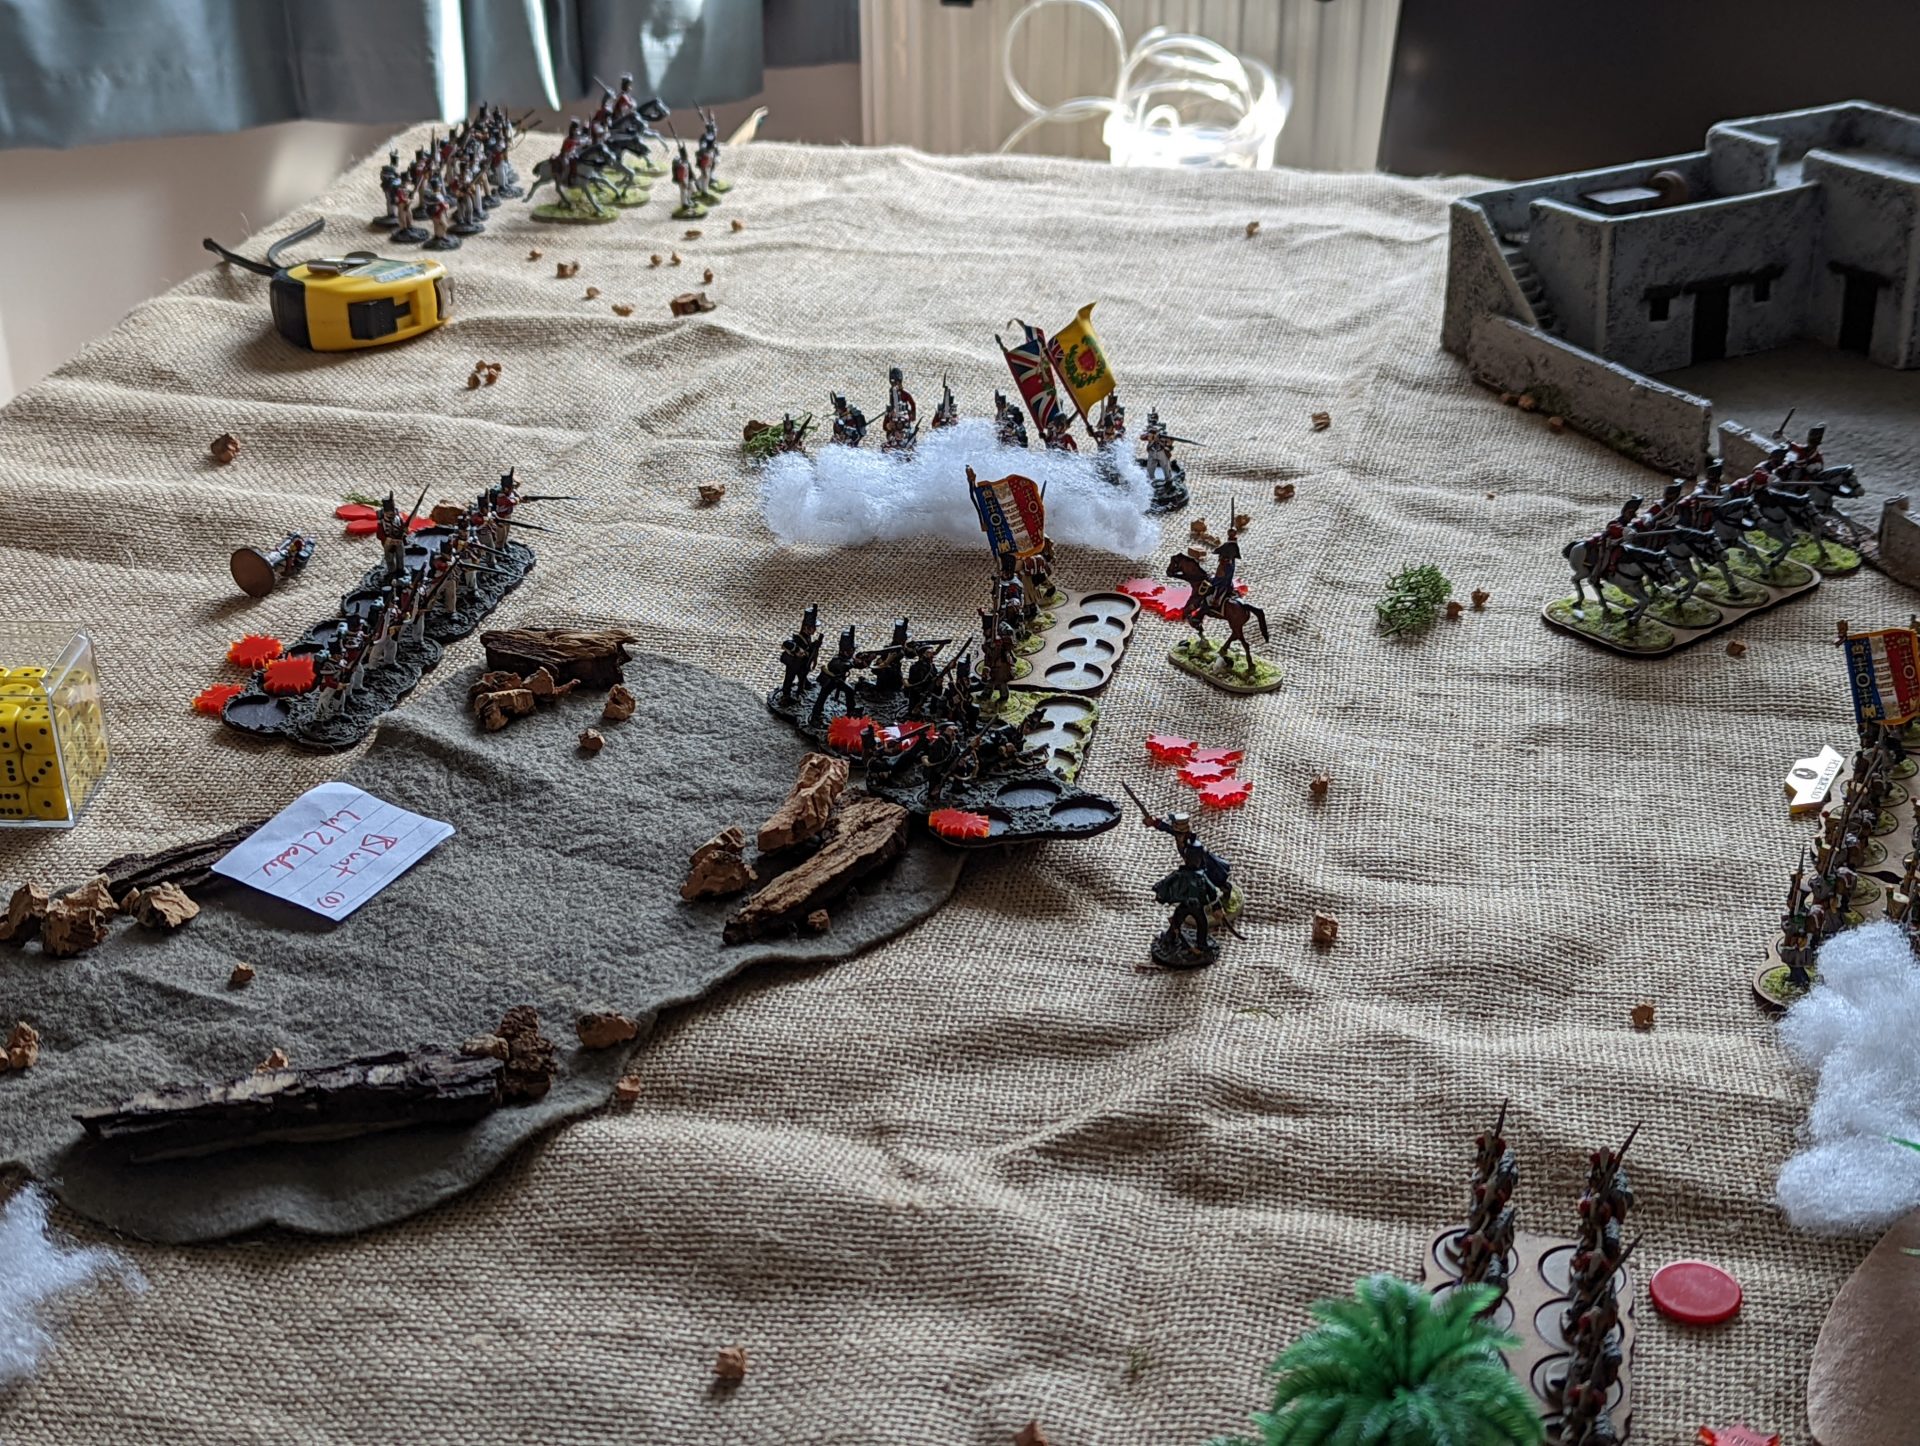
As the battle went on, we some of the glorious battle lines that make Napoleonic scuffles look like geometry lessons gone wrong. The British managed to setup pretty well around the rough ground the riflemen were in. The French on the other hand ended up having to deploy a little further back than they might have wanted to, especially once the speedy British cavalry (who started the game at a gallop and had to slow down before they left the board) managed to get onto the flank of the French line before they retreated.
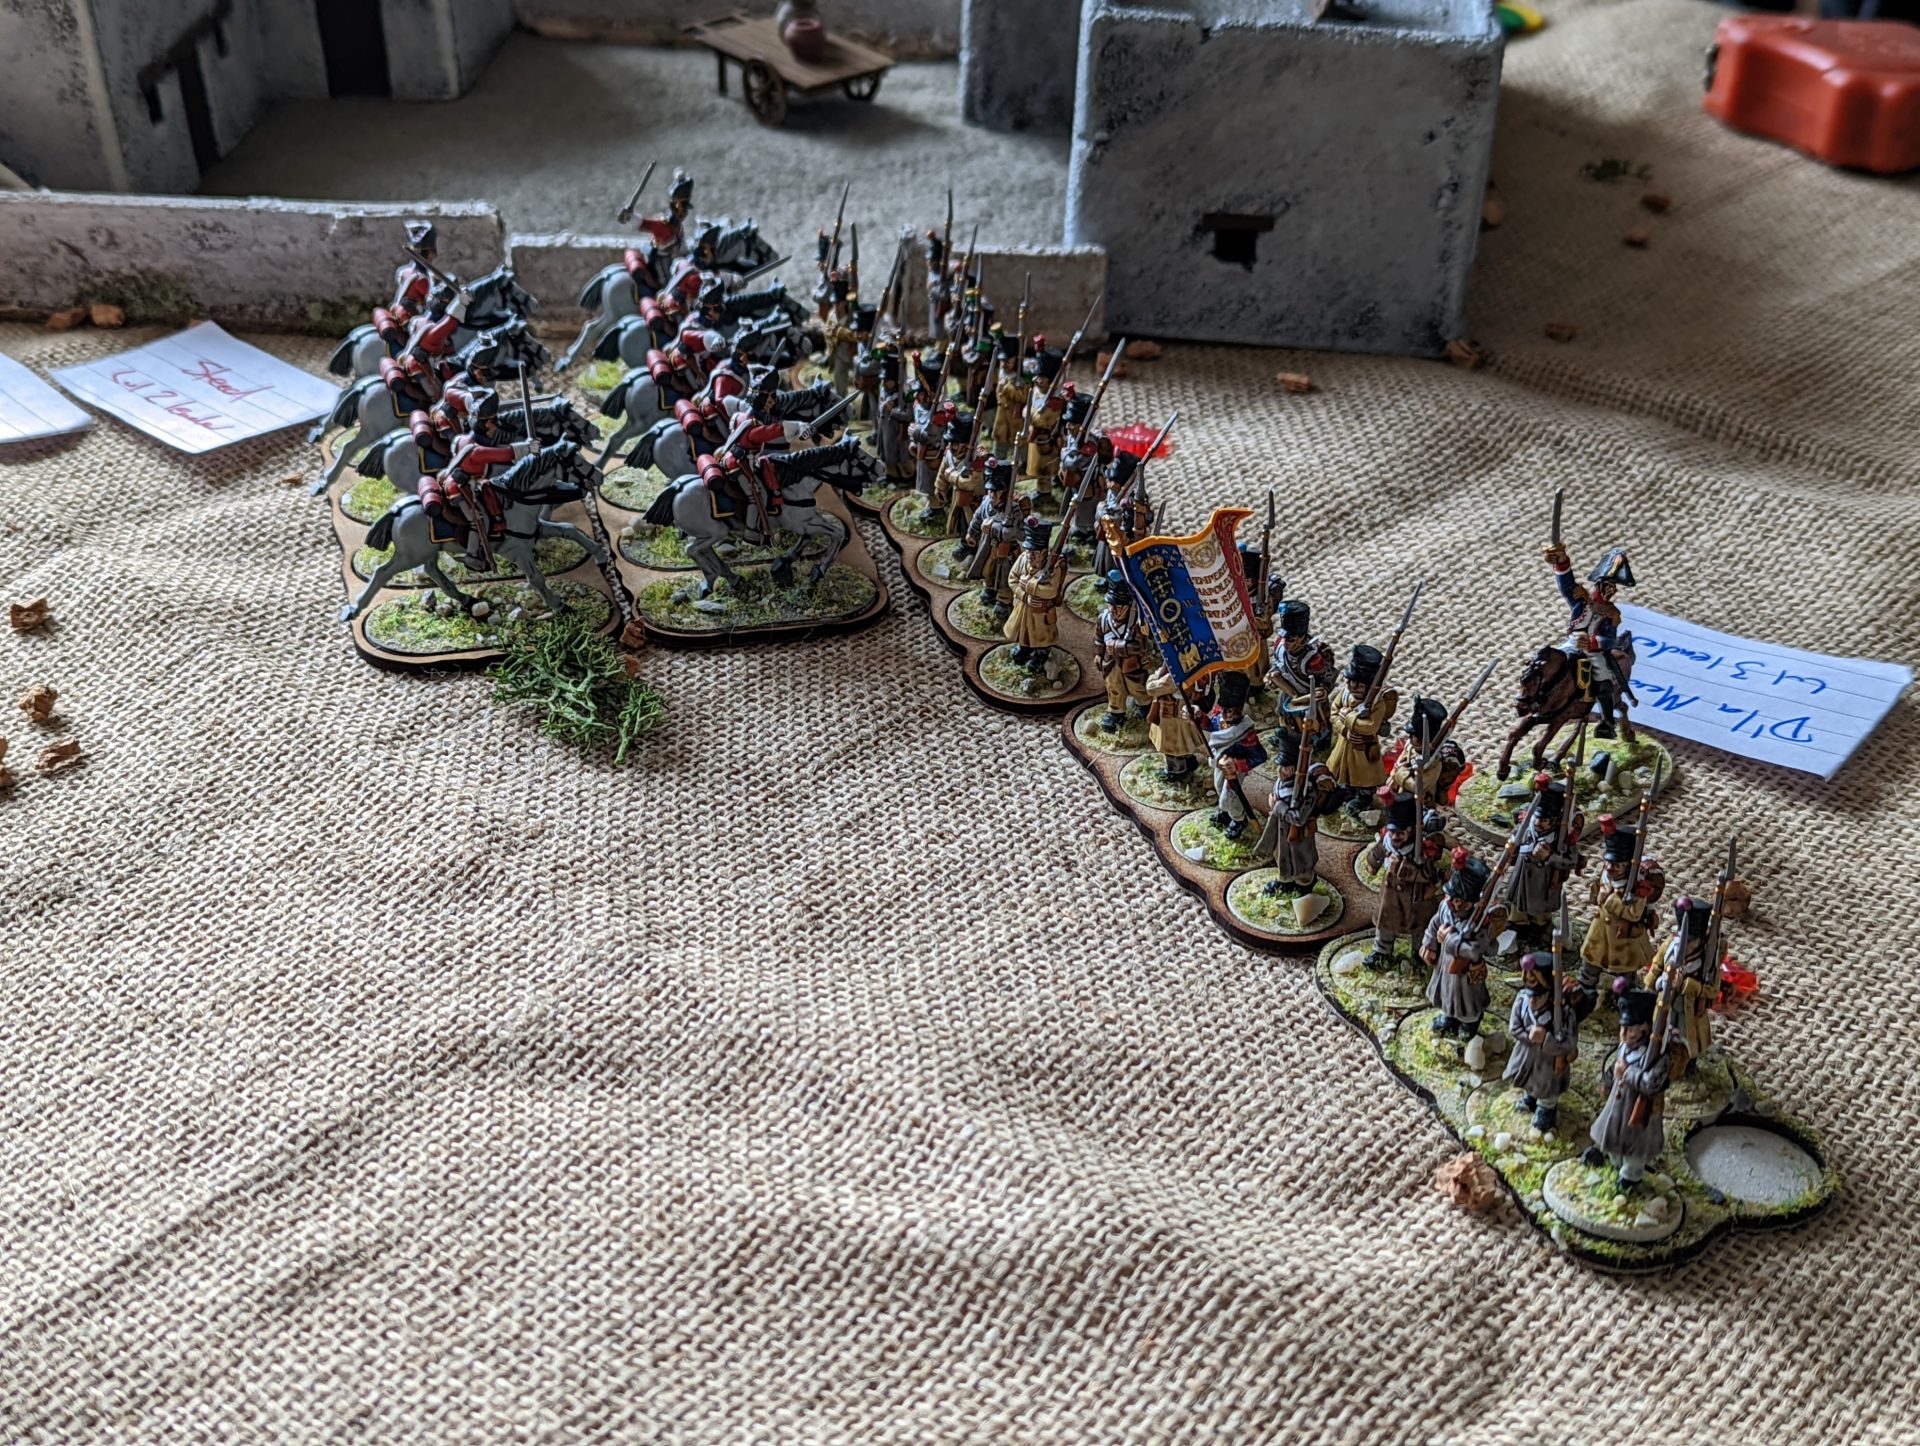
This didn’t stop the cavalry slamming into the front of the two of the line units and WRECKING them. In fact, they hit so hard that over half the figures were removed as casualties, pushing them back far enough they almost ran off the board. However, the line infantry were not entirely useless – half of the cavalry found itself taken out by bayonet and prepared shot. Overall, a nice reminder of just how devastating fisticuffs and impact cavalry are.
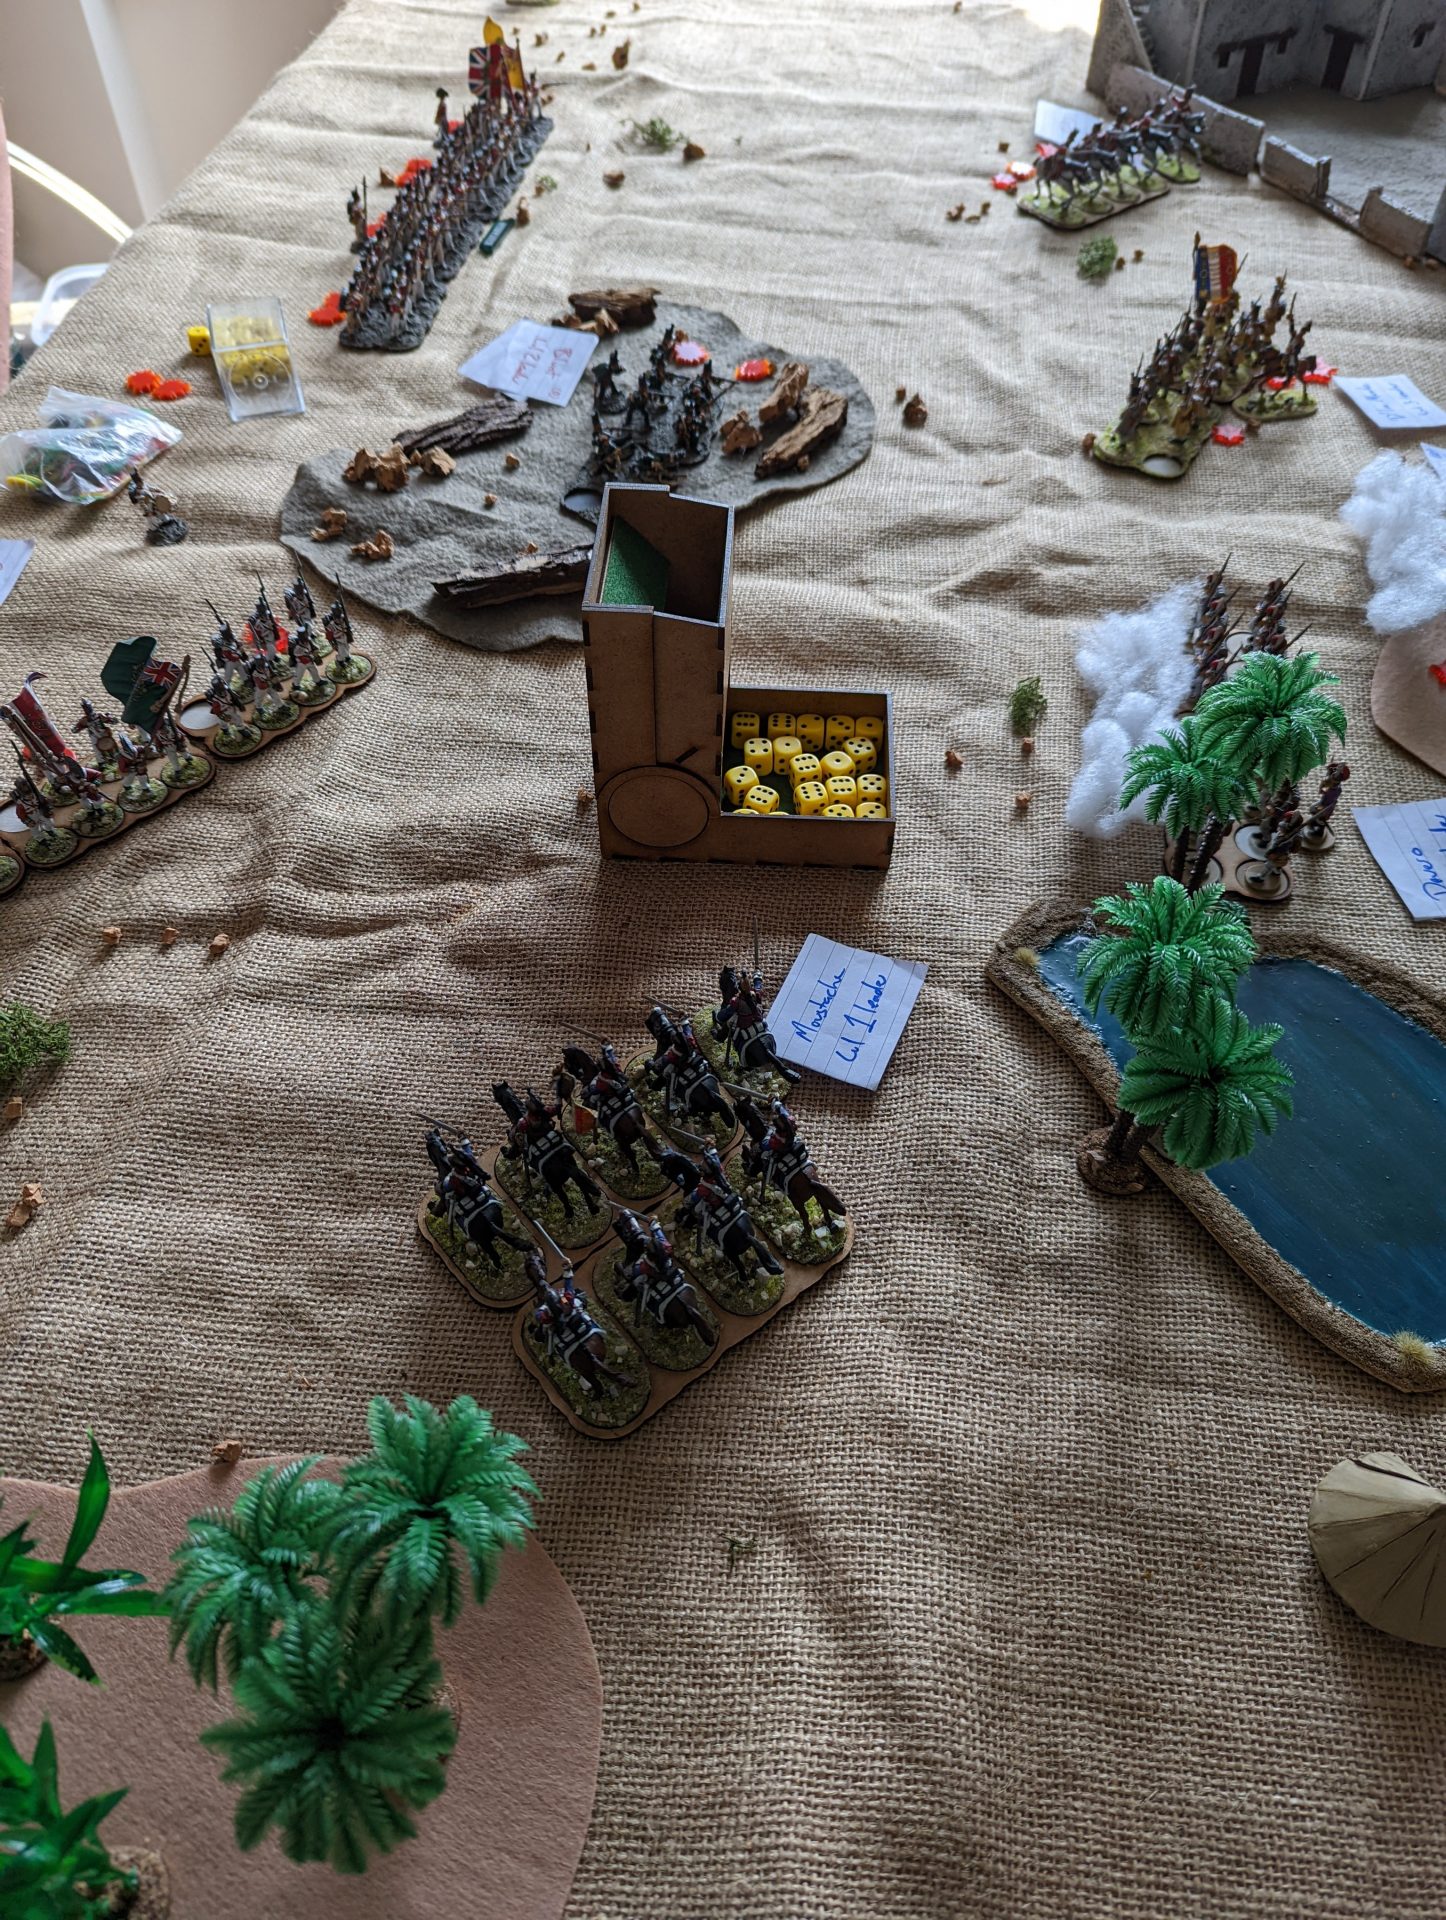
The French cavalry attempted something similar – however, they ended in front of a light infantry in formation that was loaded, prepared… and then activated before they could bring the strike home.
As you can see from the dice tower, that is an OVERWHELMING number of fives and sixes to land hits. The cavalry got ripped to shreds, forcing them to fall back and spend the rest of the game getting themselves together.
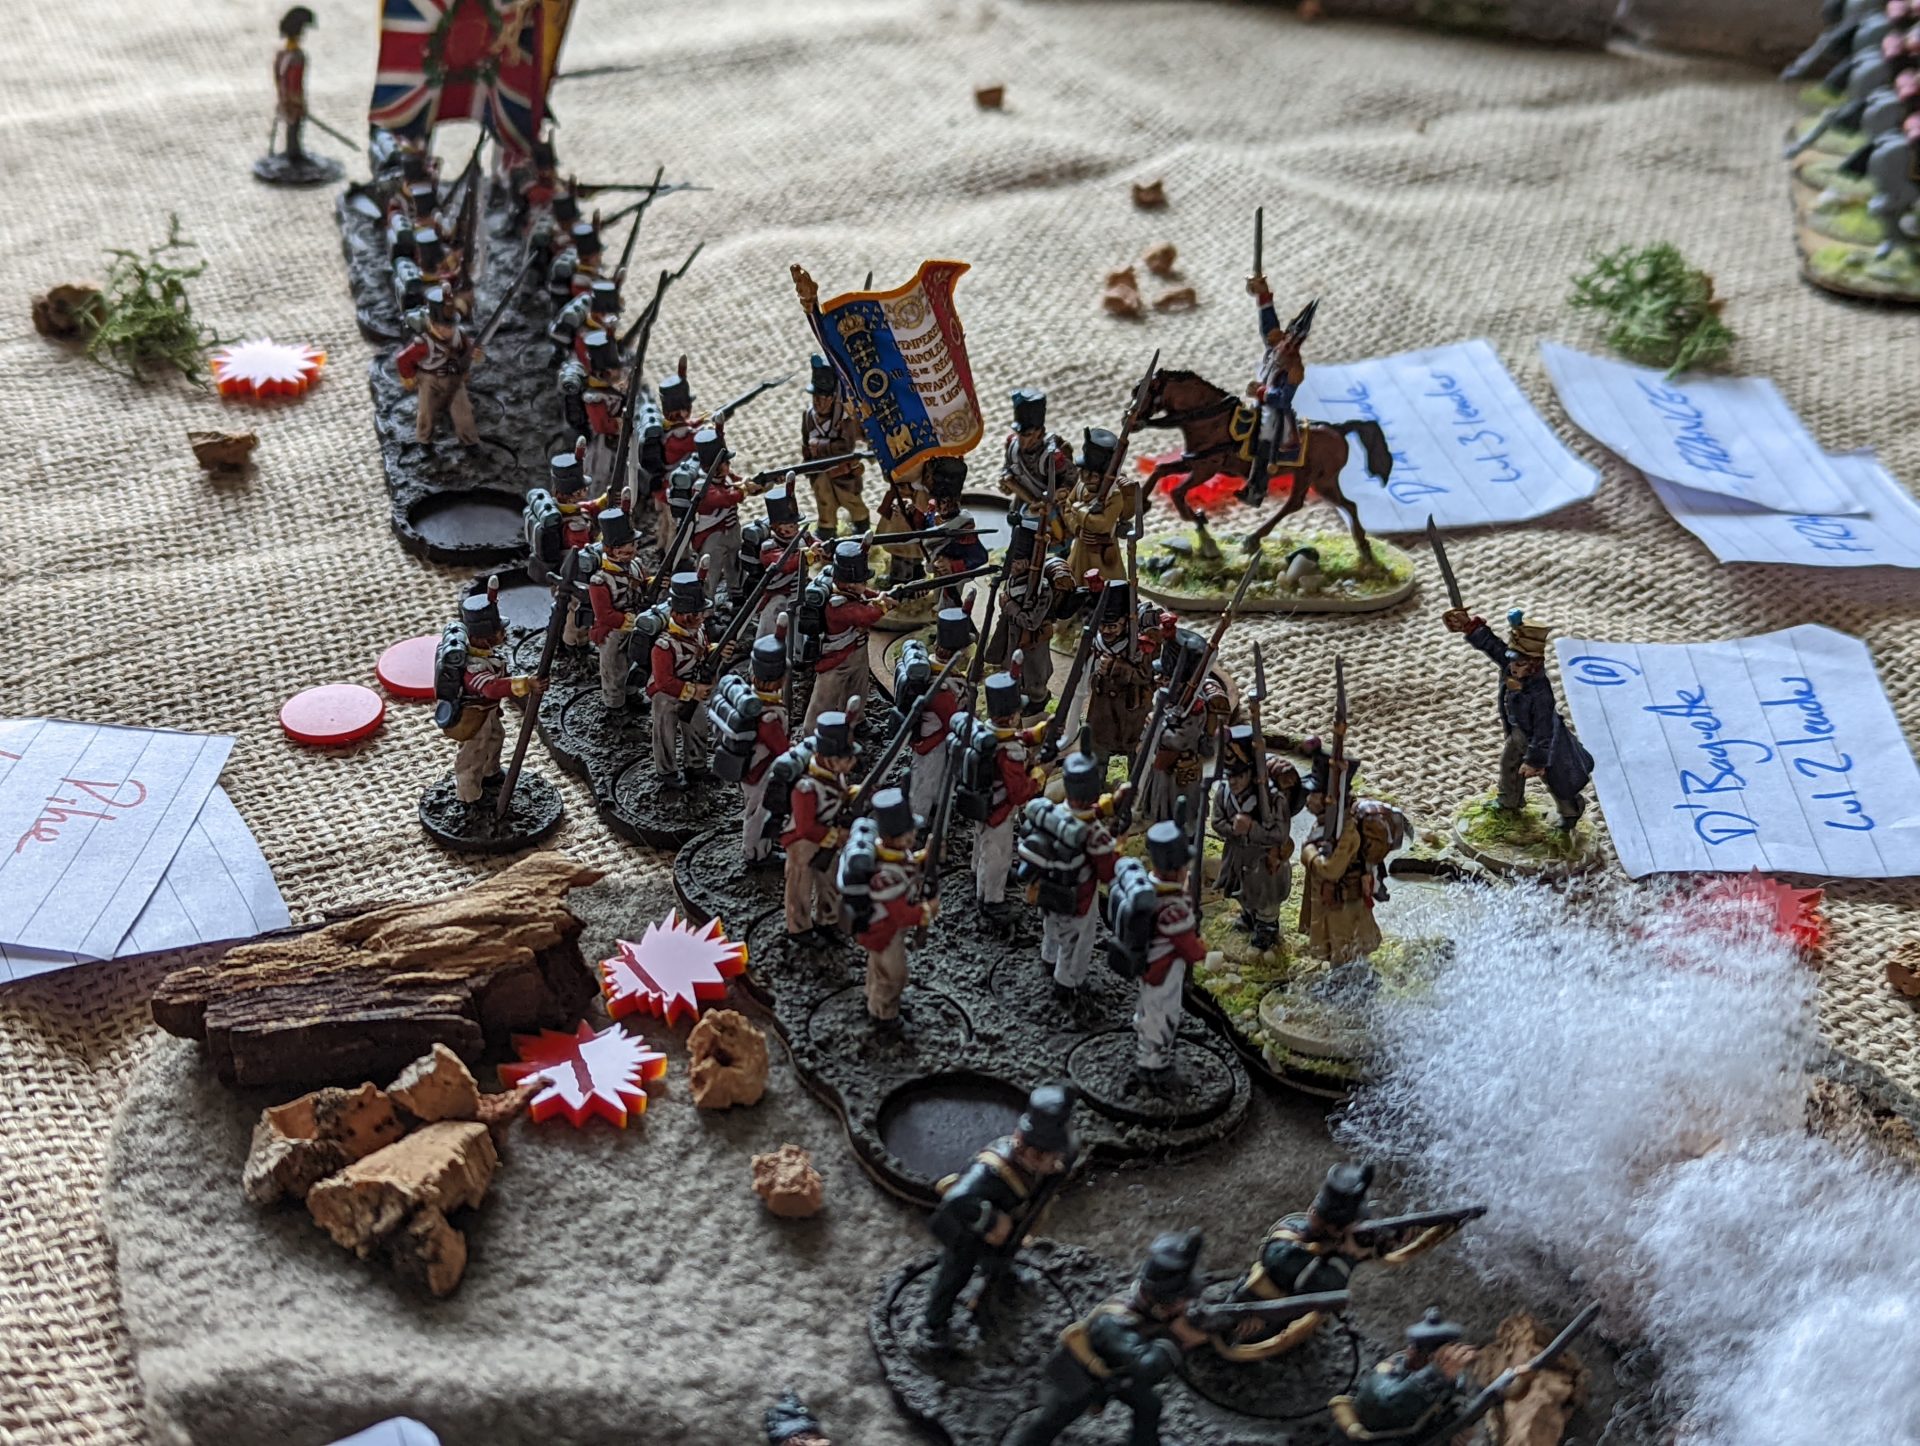
Up north, the main infantry managed to eventually slam (well, half of the French) thanks to the assistance of the Dishonourable D’Baguette who was frantically clearing off shock with every activation. I quite like how the officers were able to move between different groups, with D’Baguette having been assisting the skirmishers just up until the enemy got closer.
Speaking of Dishonourable, I (as the voice of God/GM) decided to borrow some of the cool character rules from the box and assigned one officer on each side to be classed as Dishonourable. To reclaim their honour, and to make this seem like the final battle in a Sharpe episode, they would need to fulfil one of the three objectives (win a duel, get injured in battle or lead a group in fisticuffs) to have been redeemed. Normally you would need to do all three in a campaign, but we thought that was a little ambitious for a single round.
As the sun continued up past mid-day, we found ourselves reaching the end (and running out of shock markers). The French were getting absolutely hammered, finding their main line being out flanked by the British line. To finish them off, the Rifles decided to charge in.
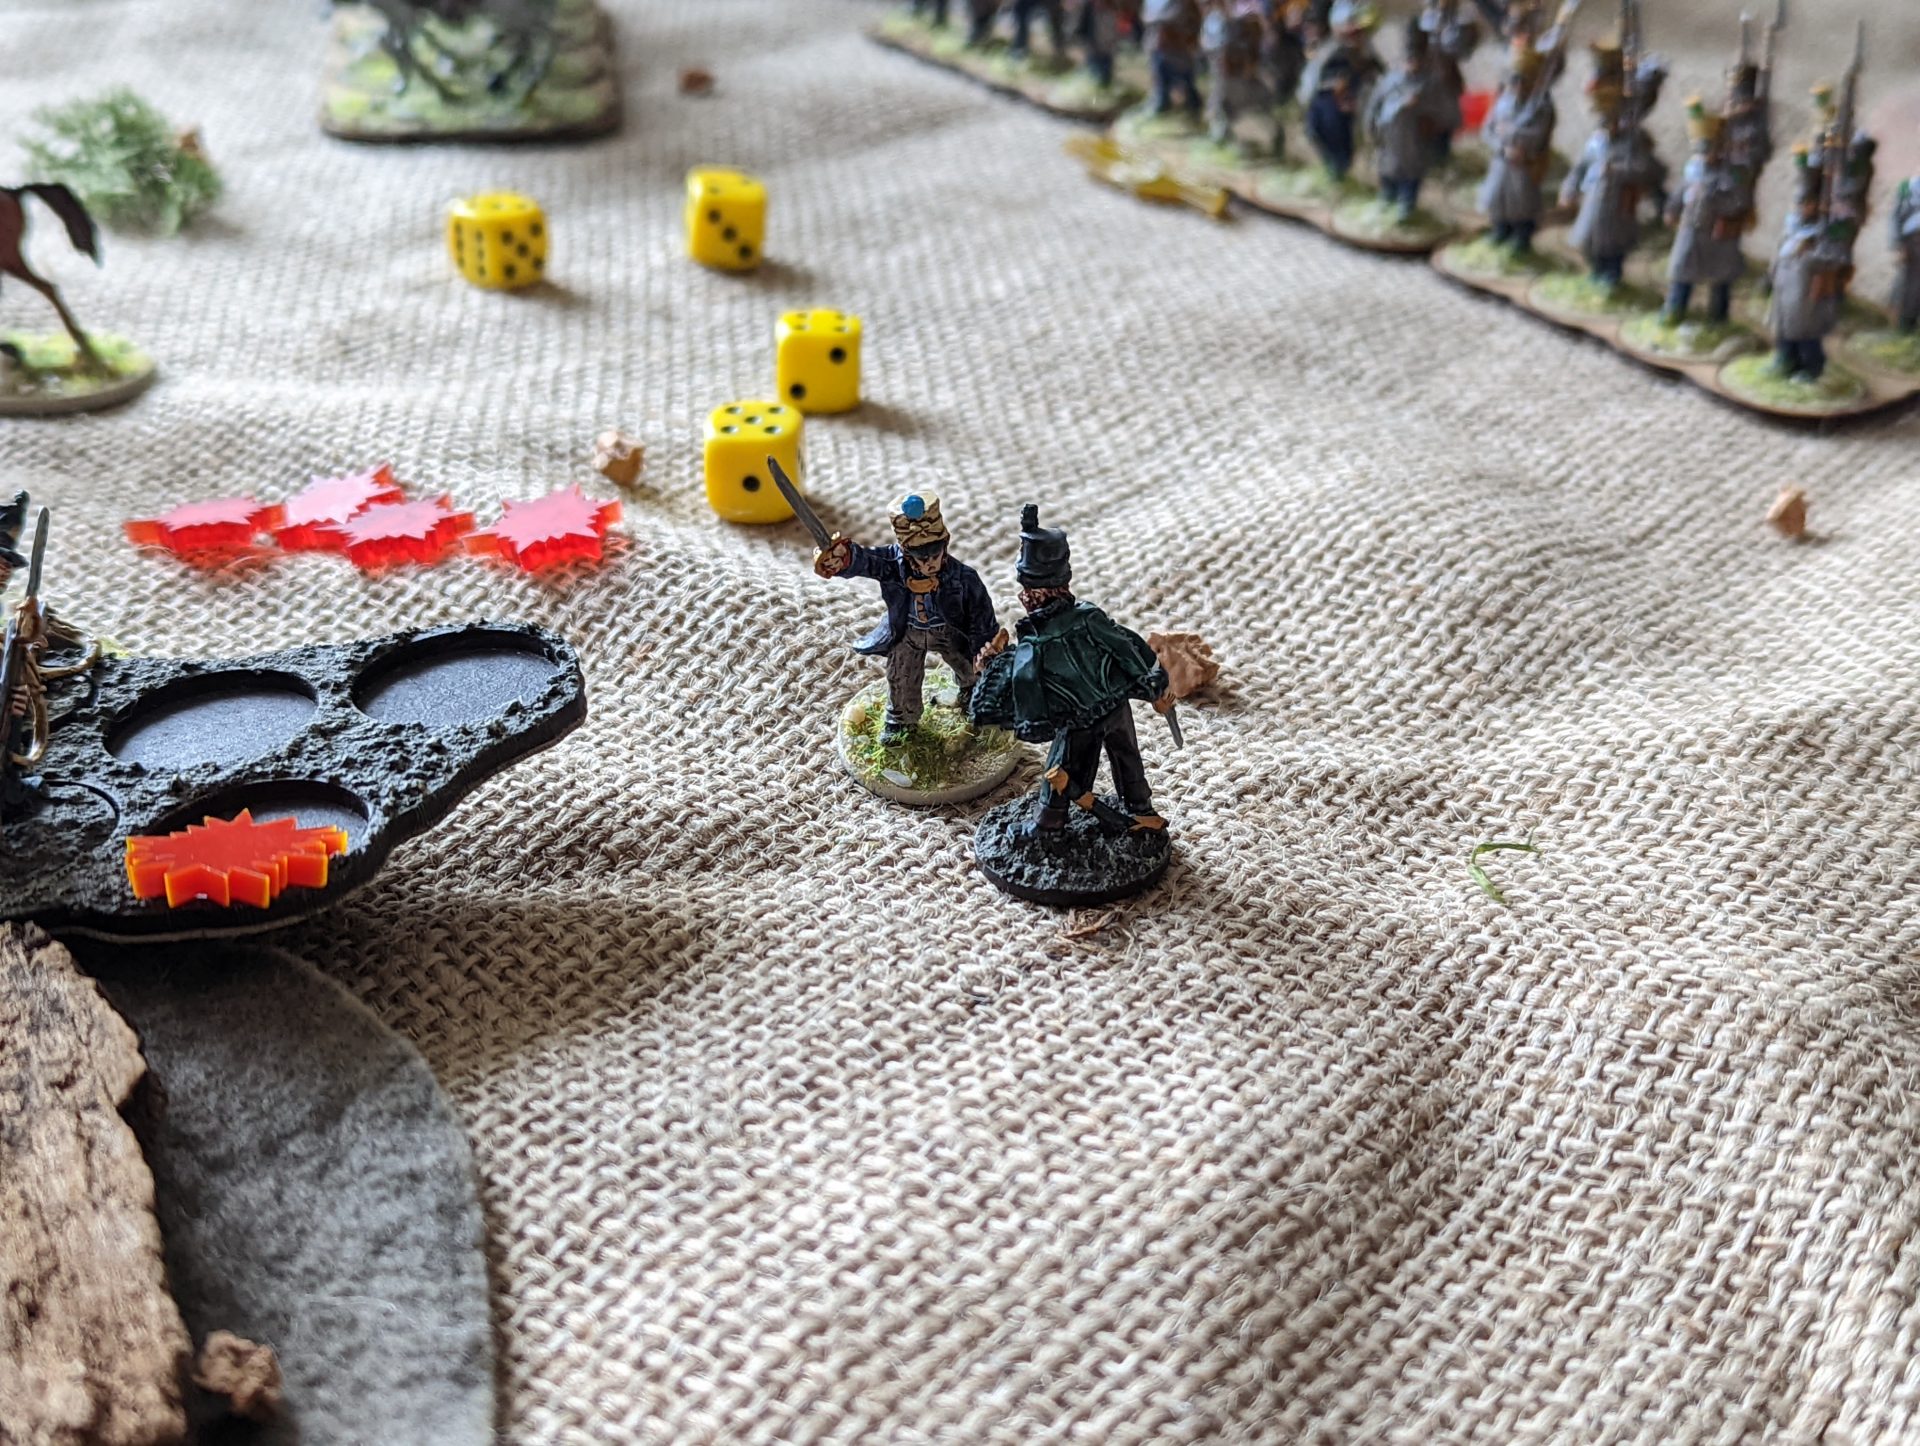
After all, this was a chance for Rifle Captain Blount, dishonoured after his previous escapades, to redeem himself! Both players decided that this was the only right way to finished the battle and so we began the duelling minigame!
This is something I really like in Sharp Practise – all the ways you can make the leaders feel like characters (even more if the minor characters appear on the board). I’d also love to get into a campaign using the Dawns and Departures expansion so we can setup the glorious rivalries and all the various shenanigans you can get up to.
But, eventually and after taking a wound, Blount found himself the victor, killing his rival and breaking the enemy force morale. Victory to the British!
So that was how I spent my Easter Saturday. After a rather excellent game of Sharpe Practise, we retreated to the garden for BBQ food and wargaming chat (as might be expected). I think we might end up playing a fair bit more of Sharp Practise – I’m very lucky that my Creative Regular Opponent has enough Napoleonics to run certain Reisswitz Press games using 28mm figures without breaking a sweat so I can save my time for Ultramoderns and other things.
That said…
Playing Sharpe Practise might have me looking at another Too Fat Lardies ruleset. After all, the forces of Midgard might have to go through some deep dark forests, full of orcs and northern raiders. Perhaps some fantasy Infamy Infamy might be on the cards.


Leave a Reply